Showing posts with label crafting for a cause. Show all posts

Friday, November 13, 2020

Me and my "Girls" -Doll Making for Operation Christmas Child


There is a reason I am known as the #CrazyShoeboxLady. That was proven with my latest project about 8 weeks in the making! It's Shoebox Season for Operation Christmas Child and that means I have been busy packing shoebox gifts. This year I was blessed with doll kits. 24 kits to make 18" "American Girl" style dolls. The kits were relatively simple to put together as they were designed for kids, BUT they needed some love (and some quality control at the factory) in order for them to become a cherished plaything I needed to put some effort into making them special.

As you can see they had a large gap no matter how much "stuffing" they were filled in so they all needed to be hand stitched. This was accomplished over about 6 weeks. In the car on the way to my Nephew's wedding. While watching TV. While catching up with the kids and the hubby at night.  I also needed to check all of their joints (some needed to be sewed and or glued in place as did their neck pieces.)

 As I finished I could then begin to trim  (check out the photo below to see just how "off" it was. ) and style their hair.


When all that finished the real fun began. I got to dress them!  The dolls had a simple outfit but part of the fun of this style of doll is to change their clothing. So I put out a call on Facebook and many friends came to the rescue. I had donations of 18" doll clothes coming to my door for about 2 weeks. One friend donated "themed" outfits, handmade shorts and dresses, and another "everyday clothing" and then I picked up underwear and shoes (Amazon has almost everything.)  

It was fun to see my collection of "girls" grow. I will admit we had a few laughs together watching sitcoms and even a movie or two together. My son came home from college one weekend saying "Ahhh mom....never mind" (he knows me well.) 


All in all it took about 2 months to complete all of the dolls and and it was total labor of love! Each doll is traveling with a tote bag filled with two changes of clothes, and a couple of accessories. Plus I traded one of them to a fellow shoebox friend for 23 doll quilts (she wanted to send one and I couldn't blame her they are adorable. ) So each doll has their own doll quilt. 


And because I had way to much fun with them. I even created a mini shoebox for each doll and mini items to put into the shoeboxes. It started out with a PDF template I created, then the long tedious process of hand cutting out and scoring the boxes (thanks for to my Score-Pal) that wasn't too bad. To fill their shoeboxes, I created mini t-shirt jump ropes, wash cloths (cut from a dollar store towel) , mini soap (created from air dry clay) and even shrunk a printable set of paper dolls and an Operation Christmas Child letter to put in the box as well. I rounded their boxes out with mini cups (communion cup size), mini clothes pins, tiny rubber bouncy balls, "baby" hair clips (dollar store purchase), hair ties with hair ribbon, those mini paper parasols, a little pen, and my favorite item mini teddy bears or rabbits a friend donated from Amazon.


When I was finished I naturally had to have a photo shoot with all of the girls!


This was truly a labor of love, each stitch a prayer for the child it was going to and  I LOVED every minute of it! I pray the children that receive these boxes have as much fun with their doll as I did!   And before I get asked YES they fit into a shoebox


Operation Christmas Child National Collection Week is
November 16-23,2020
There is still time to pack a shoebox!

To learn how to pack a shoebox visit: How to pack a shoebox
To find your nearest drop off location: Operation Christmas Child Drop-Off Location


Monday, August 17, 2020

Rya-tie -pom-pom ball.

Operation Christmas Child sends gift filled shoeboxes to children in need all over the world. National Collection Week is November 16-23. I love crafting for shoeboxes but like most I am busy so..
 I look for quick and easy craft projects to create for my shoebox gifts. While the staple items in my shoebox gift are “necessities” like school supplies and personal care items. I love adding toys that are sure to bring a smile to a child’s face!

I used to wrap yarn or t-shirt pieces around a cardboard form to make a pompom style ball, but when Plaid Crafts sent me their new Rya-Tie kit I knew I found an easier way.  The Rya-Tie was designed to makes tassels used to create a latch-hook style decoration, but the tool does more. It is a easy way to create simple pompoms that are fun for kids to toss around. When you wrap the long side you can create a larger ball, and wrapping around the shorter side gives you two pompoms for the same amount of work. These soft toys can be created in minutes and are a great items to include in 2-4 year olds boxes because they are easy to catch or put together a set of 3 or 4 and send some juggling photos/instructions printed from the web, and you have a fun gift for an older child. 

Supplies: 
1 Rya-tie by Plaid Crafts
2 rubber bands (comes with Rya tie kit) 
1 skein of “t-shirt yarn” or t-shirt yarn (Bernat Maker Home Decor Shown
2 Zip Ties
Strong scissors or clippers

Directions. 


You will be using your Rya-tie tool length wise. Place a zip tie long the top and the bottom of the tool.
Wrap yarn around Rya-tie from top to bottom holding the zip ties in place with the yarn.  The more you wrap the fuller your ball will be. With I found wrapping 300 times makes for 2 nice sized balls.

Place rubber bands around wrapped Rya-Tie, these will hold the yarn in place while you cut it. 

Cut the yarn down the cutting channel. first one side than the other. 

Close first one zip tie around the cut pieces and then the other. 

Fluff the pom-pom, snip ends to shape. 

To make one larger ball  rotate the tool 90 degrees and follow the directions above. 


Thank you to Plaid for providing the Rya-Tie tool kit and Bernat for providing the yarn

Monday, November 11, 2019

No-sew Fabric Building Set

Operation Christmas Child sends gift filled shoeboxes to children in need all over the world. When packing your shoebox gift you decide on the age and the gender of the child you wish to pack your box for. Coming up with something new and different for boys shoebox gifts that doesn’t take up a lot of space is always a challenge. This simple fabric building set is a fun imaginative toy that allows kids to build “towers” and yet stores flat taking up little space, making it the perfect addition to a shoebox gift. 


Supplies: 
2- 8” x 20” pieces of fabric (cotton, or cotton poly blend) 
2- 8” x 20” pieces of  Therm-o-Web Ultra Heat and Bond Ultra Hold (Red Label) 
Iron
*Board
Scissors
Ruler/pencil
Template (if desired, see below)


# While the stabilizer is fusible, it is only a temporary hold, thus the need for the ultra hold permanent adhesive.

* a regular ironing board can be used, but due to the thickness of the stabilizer, I found a regular board and silicone mat worked best. 

Directions:

1) Prewash/Dry and iron fabric 

2) Using the board and the silicone mat as your ironing surface, lay first piece of fabric face side down, place the Ultra Heat and Bond adhesive side down on the back of the fabric. With your iron set to medium (no steam)  press the adhesive to the fabric for 2 seconds, repeat until the entire surface is covered. Don’t be tempted to turn up the heat to make the project go faster. If you overheat the adhesive as it will “melt”  into the fabric vs. adhering to the fabric. This is one time when it pays to be slow and methodical. 

3) Repeat with other piece of fabric

4) Lay stabilizer on your ironing surface. Remove paper backing from fabric. Fuse the fabric to the stabilizer pressing for 6 seconds, repeat until the entire surface is covered. Check to make sure the entire surface of the fabric is bonded to the stabilizer. 

5) Repeat with the 2nd piece of fabric on the other side of the stabilizer. Again heed the warning about being slow and methodical 

6) Using a ruler and pencil to draw guidelines or the template, cut fused fabric into desired shapes Simple ones work best. Squares, rectangles, triangles, hexagons etc.  no See the template for ideas or come up with some of your own. 

7) Cut “slits” into the pieces. A slight “wedge” shape can be used for ease of putting together. The wider end of the wedge should be towards the outside of the piece. Be careful when cutting out the slits that you don’t go past the 1/2 way mark. (See photo) 


To build- join the pieces by inserting one into another at a 90 degree angle along the slits.

If you are creating this to put into a shoebox gift.  Create a tower and snap a photo. Store the pieces in a large ziplock bag along with the photo to act as directions. 

Thank you to project sponsors: Therm-o-Web and Plaid Crafts for providing materials for this project

Please be advised that Plaid Enterprises, Inc. and Therm-o-Web,  have compensated the designer by furnishing product at no charge in connection with this posting. 

Project Template:


Monday, July 10, 2017

Paper Mache' Flower Pot Games

Each year volunteers pack millions of gift filled shoeboxes for children in need. These shoebox gifts are sent to children all over the world through Operation Christmas Child.  Shoebox gifts are filled with; school supplies, personal care items, clothing, small toys and more.  As a crafter there are so many things you can make to personalize your shoebox gift.  I believe when you create you share a part of yourself,  a part of your heart. Who better to share your heart with than a child in need?
Operation Christmas Child’s National Collection Week is  just 1 month away but there is still time to create something to put into your shoebox gift. Toys and games are always a highlight with any child’s gift. These paper mache’ flower pot games are fun for 1 of for 2. 


Supplies needed:

For both games:
3- 3inch paper maché Darice
Assorted paint colors Delta CeramCoat Paints
sanding sponge
brushes
pallet
2-golf plastic balls (the ones with the holes) 


For ball catch:
1-26” piece of narrow ribbon
1-large eyed darning needle
2 beads (large enough they will not go through the holes in the ball) 
1-3/8” dowel rod (cut into a 6” segment) 
2-3/8” washers
1  3/4” wood bead with large hole (big enough to fit the dowel rod)
Drill and drilling bit


For tossing game:

1 paint stirrer or flat craft stick at least 1” wide. Cut into 2-6” pieces


General Directions:

1) Lightly sand dowel rod, craft stick pieces, and flower pots- if needed (some came with a bit of a “shiny coat” I gave the pots a once over to make sure the paint would adhere.)

2) Paint the flower pots, Craft stick pieces, and dowel rod, allow to dry.


Ball Catch Directions

  1. Drill a hole to fit the dowel rod in the base of the flower pot. This can be done with a craft knife as well, but I found a drill made for a cleaner hole. 

2) Take one end of the ribbon and tie a double not about 5” from the end, thread one bead onto the ribbon resting against the knot, thread ribbon through middle holes of the practice golf ball, add another bead, and make a 2nd double knot to secure in place. Trim the end and add a dab of glue to secure if desired. (See photo)  

3) From under the flower pot, insert about 1” of  the opposite end of the ribbon into the hole drilled glue inside the flower pot

4) Glue wood bead to the end of the dowel rod, thread a washer onto dowel rod. Put a bead of Mod melt glue around the drilled hole inside the flower pot.  Immediately insert dowel rod threading through the hole until the washer and bead rest on the inside bottom of the flower pot. Allow glue to cool. (see photo) This forms a handle.

4) From the bottom of the handle thread the other washer onto the dowel rod and glue to the base of the flower pot. (The washers give the paper maché some extra support and protection from repeated use.)


To play: See if you can catch the ball in the cup. 

For Toss Across Game: 

Using mod melter glue one flower pot to the end of each stick. 


To play:


Grab a friend and play catch.

Thanks to Plaid Crafts for providing the Mod Melter for the project! 

Saturday, February 7, 2015

Be My Valentine!

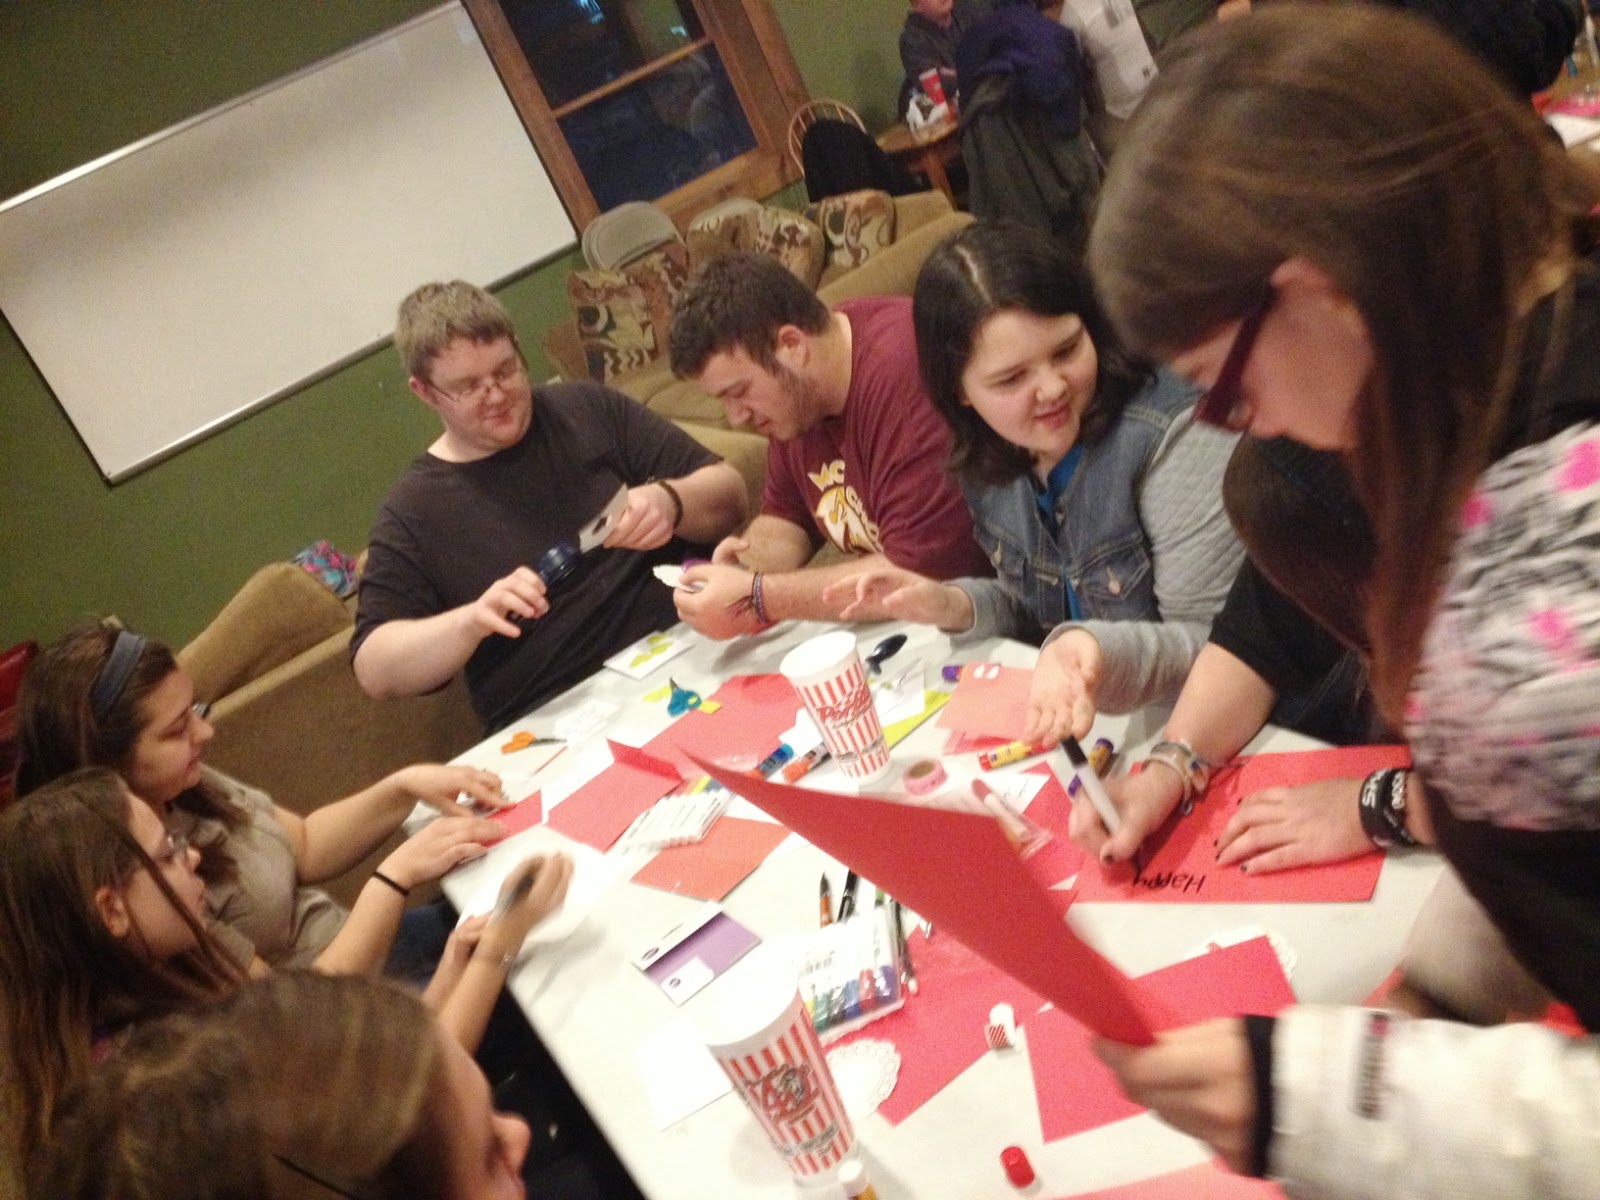
Volunteering at the local youth center I get to work with some amazing teens! When I get to bring my love of crafting to the youth center....it's like the best of both worlds!


Yesterday, I brought colored cardstock, some Fiskars Squeeze punches, doilies, Hampton Art Washi Tape and markers and let the teens go to town creating Valentines cards for our local nursing home and the local homeless shelter. Twenty-four teens and nine adults had a blast creating cards and talking about their "Valentine's Days" when they were kids.

They did an amazing job! I'm sure the residents will love them!


Monday, October 27, 2014

CD Tops!

When people find out you are "crafty" there is no end to the things they ask if you want. Earlier this summer I was given two boxes of old CD's Not quite sure what I would do with them I held on to them until I figured out a project or two. When I came across a how to for creating tops out of CD's I knew I had found a winning project.

The directions called for "shooter sized" marbles,  or ping pong balls, but the thrifty queen in my balked at the price. I had literally hundreds of these tops that I could make and didn't really want to pay $5 for 2 dozen marbles of the correct size. I decided to look elsewhere. Looking at Oriental Trading Company, I found small rubber balls that were 3/4' in diameter, and in addition to being the perfect size for this project, happened to be $5 for 144, much more friendly on my budget! Besides the Cd's and marbles, I would need wrapping paper, mod podge, soda caps and a hot glue gun to complete this project.

Then it was time to call in the troops.


About 10 of us, traced the Cd's onto the wrapping paper, then cut out the circles. These circles were mod podged to the CD's and when dry, we glued the rubber ball inside the hole of the Cd and then glued a soda cap on top as a handle. The result were some adorable Cd tops that spun surprisingly well. In our morning of crafting we finished around 200 of these guys to put in shoebox gifts for Operation Christmas Child.

I will say that we had difficulty with the glue sticking when we used a lo-temp gluegun. We found we needed the high temperature glue or the handles would peel off. To find the original directions I based this project from visit: Mama's Little Muse