Showing posts with label CHA. Show all posts

Friday, March 25, 2016

Key Cabinet

I am so blessed to be a part of a wonderful group of bloggers associated with Prime Publishing. This past January we were invited to a fabulous blogger event during the Craft and Hobby Association Trade Show. At this event we mixed and mingled with some amazing manufacturers all wanting to send us product to create with! 

Once again there was a contest involved, and with my mind awhirl I set out to create. 

I always am loosing my keys, which is really kind of funny because I LOVE collecting vintage keys so I thought how cool would it be to create something fun and functional. Taking a wood tray and frame from the thrift store, I set out to upcycle them into an adorable key cabinet!
Instructions:

Remove glass from frame and hardware if necessary. Lightly sand all wood surfaces.

Apply base coat of paint (the color bamboo shown) and allow to dry.
Base Coat

Apply crackle medium on all wood surfaces. Use smooth strokes. The thicker the coat the deeper the cracks when finished. Allow to dry.

I opened my paint to find it smiling on me
Apply top coat of paint (Ceramcoat Chalk in Raven shown.) Use long smooth strokes for best results, allow to dry. 

Just like that the magic happens!
Brush on Ceramcoat wax to entire painted surface allow to dry and then buff with a soft cloth. 
Cut 4 pieces of metal ribbon slightly longer than inside opening of of frame. Lightly sand and then rub on Stazon ink and wipe immediately off. Ink will settle into recesses of the ribbon and grooves made by sanding to give an "aged look" Heat set in being careful because the metal gets hot. Staple metal ribbon in place on back side.
**Pausing for a moment to say this metal ribbon is AWESOME!!! It comes in several widths, has fabulous detail both embossed, and die cut. It's heavier than foil, but not as rigid as tin. I've only seen it at Hobby Lobby in the spool ribbon aisle by the wedding stuff. $4.99-5.99 a 9ft roll. 
Cut wire mesh to cover the backside of frame. Using staple gun, staple into place.


Cut burlap to fit inside wood tray, using a brush, apply Fabric Fuse to inside of tray, glue burlap to inside of tray, smoothing out fabric. Slightly fray edges of burlap if desired. 
Trying to get the keys to hang straight

Line up frame with wood tray, Making sure to center frame over wood tray. Using drill, install hinges so the frame becomes the door of the cabinet. 
I found out after the fact
do the burlap before the hinges!
(Messing up first so you don't have to!)


Install knob to front of cabinet, install latch to close, on side of cabinet.
Install cup hooks inside cabinet to hang keys, install hangers on back of cabinet to hang on wall. 


Volia' an adorable key cabinet! Hopefully it will become not only a place to store the vintage key collection, but a place to remember to put my keys (where I can see them!) 

Notes:
When working with the crackle medium, a smooth thin coat will produce tiny cracks, a thicker coat will produce cracks that are wider exposing more of the undercoat. Remember to wear protective eyewear when cutting the wire mesh, the tiny pieces fly everywhere. Use a drill to predrill holes for hinges especially on softer wood (or particle board.) This will help keep the wood from splitting.
Supplies used:

Plaid Delta Ceramcoat Chalk Paint-Raven, Plaid Delta Ceramcoat Select Multi Surface Satin-Bamboo, Plaid Delta Ceramcoat Crackle Medium,
Plaid Delta Ceramcoat Wax-Clear, Wood Tray (from thrift store), Wood Frame large enough to cover edges of tray, Piece of burlap fabric to cover inside of tray, Therm-o-web Fabric Fuse, Hinges from hardware store, Wire mesh from hardware store, Staple Gun and Staples, Wire Cutters, Metal Ribbon enough to line inside of frame-Hobby Lobby, Knob-hardware store, Latch-hardware store, Paint brushes in assorted sizes, Cup hooks, Protective eyeware, Needle nose pliers, Drill and bits, Screwdriver, Heat Gun, Sandpaper, Black Stazon Ink

This project is in the "Best Blogger Craft contest" over at Fave Crafts! I would LOVE your vote!  You can vote once per day!

 http://www.favecrafts.com/voting/Blogger-Contest/


Wednesday, January 29, 2014

Craft Fantastic Bracelet.

Two years ago, at the St. Charles, IL Scrapbook Expo, I met a fabulous company called "Craft Fantastic." I loved the simplicity of making jewelry with their pre-sized images, and realized the endless possibilities with my own images. This past CHA I was surprised and pleased to run into them at the show as a manufacturer offering wholesale for the first time. Needing someone to fill in and demonstrate for them, I spent a few hours teaching make and takes at their booth.
Working at the Craft Fantastic booth at CHA this year. 

The coincidence was that on my desk waiting for me when I got home from the show was a Christmas present in progress for a friend, yes it is January, no I had not finished it yet. Christmas was a rather emotional time for me. I love (and I mean LOVE) making Christmas presents, but it was my first Christmas without my favorite recipient so making gifts this year took a back seat to just allowing the holiday to be and deal with the emotions of the day. So by the time January rolled around I was ready to get back into the creative swing of things and decided to attempt to make something that I had been toying around with in my mind for awhile.

The gift was for my editor. I work for Chicagoland Scrapbooker Magazine and being that I work with our social media I get sent the cover images for the magazine. The idea was to use Craft Fantastic glass and glaze & glue to create a one of a kind charm bracelet using the cover images of the magazine.

Close-up of the cover charms.


By reducing the images to a bit smaller than 1 inch square I was able to use the 5/8" square glass pieces to make the charms for the bracelet.  I added beads I strung on head pins and then a cute scissor charm as an accent. I love the way it turned out and hope that Carrie enjoys the memory celebrating our first year and a half as well.  
Finished bracelet.


Supplies used: Craft Fantastic 5/8" glass squares, Craft Fantastic Glaze & Glue, bail plates, E600, scraps of patterned paper, glass beads, silver chain, T clasp, jump rings, head pins.

Saturday, January 18, 2014

CHA Mega Show 2014-Sights around the show!


While the reports from back home were telling me of the cold and snow, I enjoyed the 70 degree temperatures and sunshine, the palm trees swaying in the breeze.  Well at least on my way to the show! Other than that I was too busy to enjoy the view out of my balcony!


Every once in awhile you see something created at the show that defies your "limits" for a project. The largest thing I have ever created out yarn was a giant spider web stringing and knotting yarn through all the surfaces, handles and what not of my bedroom when I was four. For those wondering my inspiration, I wanted to be "Charlotte" from the book Charlotte's web and was creating her web.  You don't need to guess at the inspiration behind these yarn creations, Lion Brands used the "Wonders of the World" The Taj Mahal, Tower of Pisa, The Spinx, Stone Hendge and more all knitted or created out of yarn. The amazing thing to me was they were created out of yarn (well they used forms for shape.) 

The Taj Mahal  in yarn! (you can see the "Tower of Pisa" in the back)

The sphinx also in yarn (the Pyramid is in the background)


Several years ago I taught a class called "Duct Tape Art." I loved that class. Each week we would learn to create something out of Duct Tape. My Jr/Sr High school students, loved using the ordinary and turn it into something they have created.
Did you know there is a "Duct Tape bus"? 

I love flowers and bling which is why I could just gaze for hours at Prima Marketing's booth. To the point I have to set a time limit on how long I can look! All of the projects were my favorite. Each one more lovely than the next until I came back to the one before and it became lovelier ;)
A gorgeous project from Prima!
Some more Prima lovliness.
One bus I wouldn't mind being thrown under ;)

I love my Mod Podge. So stopping by for a quick "photo op" with Glossy their mascot while I was running between activities was a must.

Me and Glossy the Mod Podge mascot! 

Like the yarn sculptures out of yarn, sometimes you see something that gives you a "eureka" moment. My friend Angela Daniels aka "The Guilty Crafter" now works with Rit Dyes. She has been posting sneaks of elements from their booth. Including furniture and a baby grand piano all of which have been dyed using Rit Dyes. Takes their product to a whole new level for me.

I love how Rit used their dyes to decorate everything in their booth.
Button, button, "who's got the button?"Button's Galore sure did and their flowers were gorgeous in this display!
The adorable display at Buttons Galore and More!
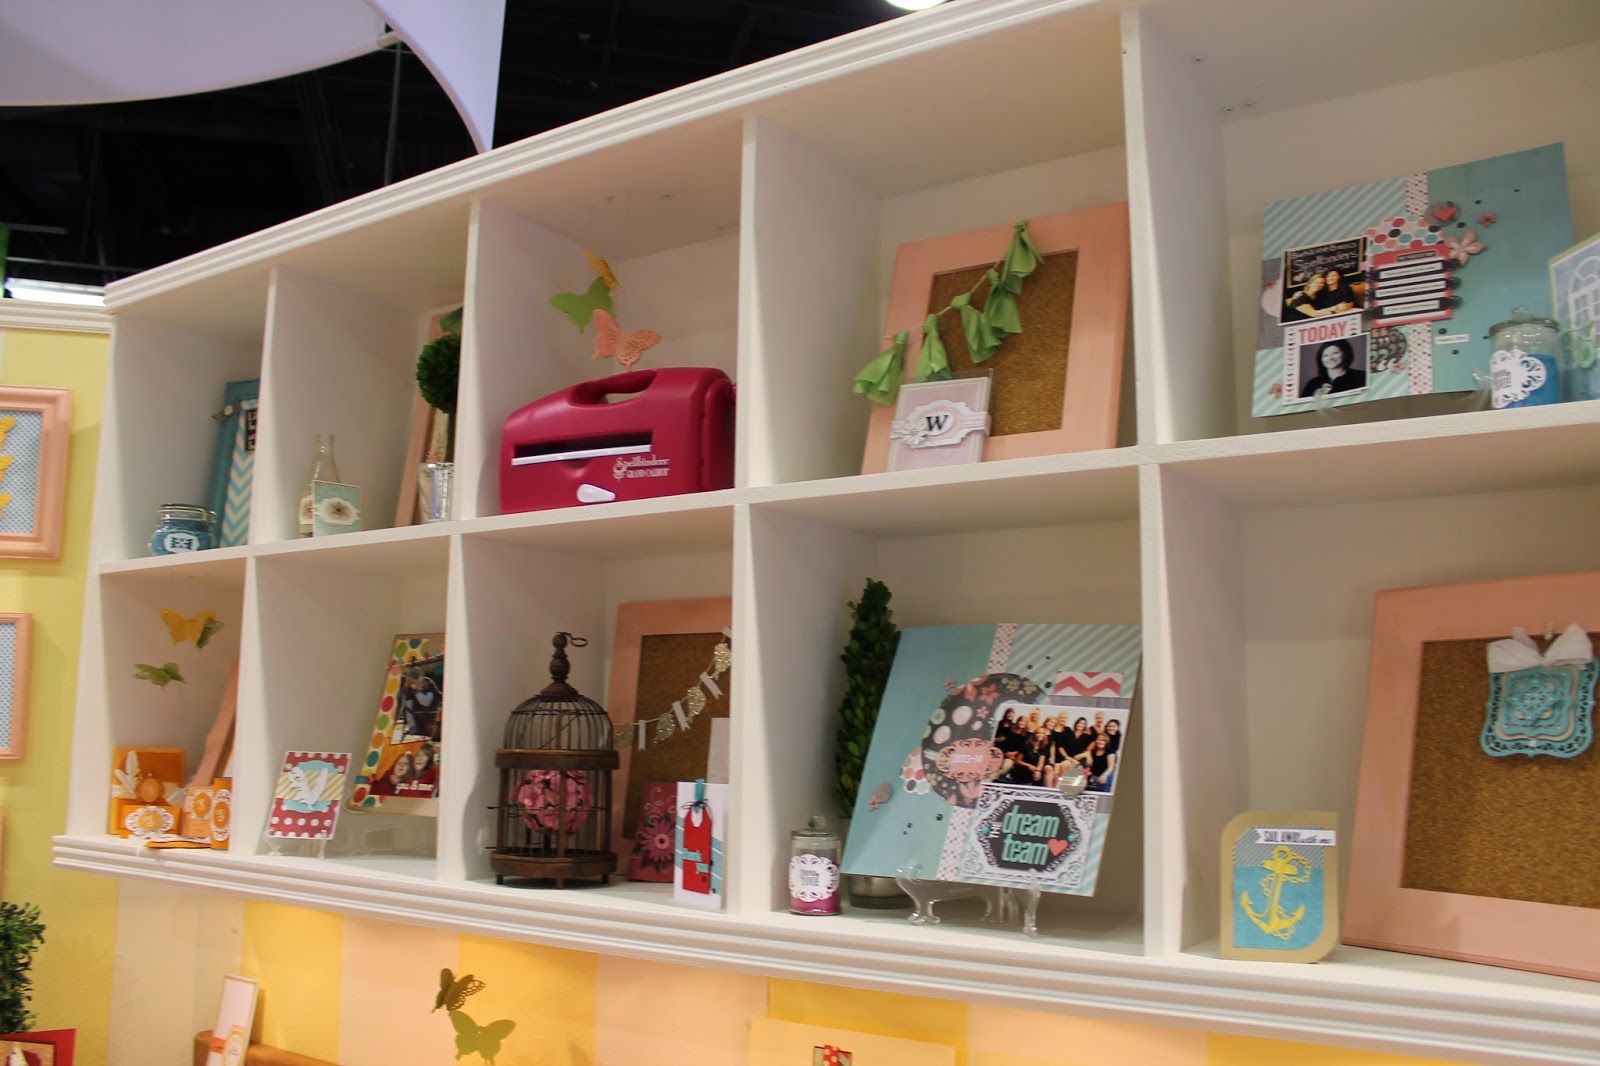
During a press event at "Spellbinders" Stacey Caron said something about the redesign of their booth. "For crafters, crafting isn't just a hobby, it's a life style." They wanted to reflect that in everything displayed in the booth. So you didn't see actual dies and product on display in their booth. The entire booth was what was created with their dies and products! 
Stacey talking about the product used to create the booth!
Check out the light made from Mason Jars


The detail on this purse,
it used dies and letter press for the detail on the fabric


Loved the "people"

Even the chandelier 


They did have projects on display too, in their craft room!


Friday, January 17, 2014

CHA Mega Show 2014-Top 20 Hot Product

To anyone in the craft industry the annual Craft and Hobby Association Trade Show is a cross between  a class reunion, creative escape, and exam week in college. Even though it is a lot of work, it is a lot of fun as well and I look forward to the show every year, not just for the creative side of things but this midwestern gal loves to be able to shed her layers of winter winter wear for a few days during the bitter cold of January for the warmer weather of Anaheim.

This year I attended the trade show as press representing both "Aim Happy" and Chicagoland Scrapbooker Magazine. Having "press" status allowed me in to a sneak peek event for the Top 20 Hot products being introduced at the show. Here are a few of the products that stood out for me. 


Air brush art was a pleasant surprise in the top 20. My friends from  Craftwell USA,  introduced their  "eBrush"an electronic air brush tool able to be used with paint, air brush make-up, etc. and also had a marker attachment designed for popular versions of alcohol markers on the market. For those not wanting to go with a professional model, Tim Holtz and Ranger Inc. introduced an updated version of a marker air brush, called the "marker spritzer" a plastic attachment with a balloon style pump, that will clip on to markers, allowing crafters to get a spritzed effect with their markers. 
The "marker spritzer"
The Tool-n-one a multi-purpose brush tool designed by Spellbinders to help those using intricate dies for die-cutting get all those annoying leftover pieces that get stuck in the die. Also at the event we saw upgrades to the "Crystal Katana" put out by the Crystal Ninja a tool designed to help with placement of individual crystals but also is great for placement of other small embellishments. 

Spellbinder's "Tool-in-One"

Having used molding putty before and having a box of used molds in my craft space, I was quite interested in a substance called "Composi-Mold" this non-toxic reusable molding compound can be melted and formed to create your mold to cast with, and then remelted down and reused to create an entirely different mold. It works with plastic, concrete, wax, plaster, soap and even edible treats! I talked to the creator for quite some time. He said the compound can be melted and recast 36 times. (He actually said he melted and recasted 37 times during product testing and decided to stop there because you "need to have a number" 


Fiskars showed off their new 12 x 12 Rotary Cutter, Ruler Combo. This rotary cutter had a 12 x 12 clear plastic grid ruler to allow sewers to measure and cut multiple layers of fabric in one step. Also of interest to me was the "Little B's" perfect positioner. A sticky mat designed to give manual die cutters a surface that will hold paper and dies in place so they don't shift during the cutting process resulting in a more accurate cut. 

For you marker enthusiasts the Chameleon Art Products "Color Tone" Pens were pretty amazing. Using a mixing chamber with a toner medium, from one marker you can get a full range of shade from lighter to darker, allowing for flawless blending in your coloring. 

The full list of the "Hot 20 Awards" as presented by the Craft and Hobby Association:

Craftwell eBrush: a portable airbrush system used by crafters, cake decorators and beauty enthusiasts alike for scrapbooking, makeup application and more.

Brother International Corporation ScanNCut machine: a revolutionary new home and hobby cutting machine with the convenience of a 300 DPI built-in scanner.

Spellbinders Tool-n-One: a portable tool that performs multiple craft functions, including piercing, folding, paper removal, inking, distressing, curling, and more.

Beadlon Artistic Wire Findings FormsTM: patent pending fixed peg jigs that allow you to make your own findings from a range of gauges of Artistic Wire and Beadalon German Style Wire.

Beadalon Knot-a-Bead™: patent pending desktop knotter tool to tie knots naturally with two hands for professional-looking jewelry.

BIC® Magic Marker® brand Window Marker: high quality marking and drawing tool designed to adhere to glass surfaces resulting in bold, vivid marks for window or glass writing occasions.

Chameleon Art Products Ltd Color Tones Pens: pens for creating art effects, including 3D and airbrush, smooth transitions, highlighting, shading, blending and gradations.

ComposiMold PowerMold Modeling Compound Push Mold Kit: make push molds of objects and textures from Modeling Compound castings.

CrystalNinja.com Crystal Katana: a patent-pending rhinestone and crystal pick up tool that picks up paper, embellishments, nail art, multimedia items and Swarovski Crystals.

DecoArt Chalky Finish Program: a complete program offering paint, waxes, varnishes, stain blocker, brushes and stencils that easily achieves a vintage, time-worn look for home decor and furniture pieces.

DESIGN MASTER TintIT™: multi-use transparent dye that fabricates color from just one can.

Ellison/Sizzix Modern Surrealist by Marisa Pawelko: 20 Originals steel-rule dies that create fashionable clothing appliqués, cards, stickers, notepads, and locker décor for teens and preteens.

Fiskars Brands 12” x 12” Rotary Ruler Combo: a rotary cutter with a ruler attached for measuring and cutting multiple layers of fabric easier.

ICE Resin Susan Lenart Kazmer Iced Enamels®: makes torch-fired or kiln-fired enamels with no fire required.

iLoveToCreate Aleene’s® Quick Dry Fabric Fusion®: an easy alternative to a needle and thread, remains durable and incredibly flexible, wash after wash.

ImpressArt Soft Strike™ Metal Stamping Blanks: A collection of metal discs specially made for metal stamping making it easy for metal stampers to leave deep, clean impressions and achieve professional results.

Little B Perfect Positioner: a unique adhesive mat designed for any die-cutting tool platform and any thin metal dies -- never waste a piece of paper again.

Lumi Inkodye Black: a sunlight-activated fabric dye that allows you to print your own photos onto fabric -- now available in black.

M-D Building Products Metal Sheets: perforated metal sheets, magnetic chalkboards, metal tools and other unique metals to add more dimension to craft projects.

Plaid Enterprises Mod Podge Mod Melter: a tool used to fill the Mod Molds with the Mod Melts. It allows the crafter to fill the molds with ease for molded embellishments, home décor, paper crafts and more.

Ranger Industries Tim Holtz® Distress Marker Spritzer: the perfect tool for creating airbrush effects on craft projects.

About the Craft & Hobby Association The Craft & Hobby Association (CHA) is an international nonprofit trade association consisting of thousands of member companies engaged in design, manufacture, distribution and retail sales of products worldwide in the U.S. craft and hobby industry. For more information about CHA, membership or its award-winning CHA Conference & Trade Show, visit http://www.craftandhobby.org.


Monday, April 23, 2012

Shadow Box Canvas

While I have never considered myself an artist, I do consider myself a crafter. I reserve the title of "artist" for those whose pieces I think belong in a gallery or hanging in the art institute. The interest in "mixed media art" has me fascinated. I love the painting and different textures and little accents and touches. It boggles my mind at how they can take so many different mediums and turn out a piece that looks so "put together."

Last  summer the Craft and Hobby Association's trade show had a focus on "Mixed Media Art." It made sense being that so many crafters have their hands messy with more than one art form. This being the case many of the vendors at the show, demonstrated how their products could be used in mixed media. I sampled and dabbled and tried them all. I had so much fun playing that I finally decided to jump in and try something new.

The phrase "pieces of my heart" kept drifting through my mind.  I envisioned hands tenderly holding cherished pieces of my heart. I know that I can't draw to save my life so I wanted my piece to revolve around a photo. I didn't want to just stick the photo to the canvas so I had the idea to shadow box the photo within the canvas.

Since a blank white canvas can be intimidating I started with a messy base coat of a creamy metallic colored acrylic paint, I then topped it with some music I photo copied and then distressed and tore up. I used Mod Podge to not only adhere down but to give the background a bit of a glossy texture. When it dried, I used my USX as a stencil to add a window in the canvas. Instead of using the USX blade with the template I used my Fiskars retractable fingertip craft knife to cut out the window. I then added a double mat frame using the same template I made the window out of to give me an exact fit. I used a transparency as my window glass to seal in the photo.


For the heart I wanted a kind of free form heart that somehow fit together, yet didn't but still made up the heart. Painted puzzle pieces fit the bill perfectly. For a caption I played around with different fonts of chipboard letters, edging some in gold and glittering others. To finish it off I added a touch of coordinating ribbon just cause I thought it needed a bit of movement along the side.


While I'm not sure the finished piece could "technically" be considered "mixed media art" based on today's standards. I was really pleased with my finished piece. It was fun to figure out how everything would fit together and dig through not only my paints, but my inks, metallic rub-ons, and papers, and even tossed in some photography as well.


Supplies used: 11 x 17 canvas, black art board, sheet music, chipboard-My Minds Eye, Rusty Pickle, Lil' Davis, photograph, old puzzle, paint-Plaid folk art various colors, Krylon Glitter Blast (starry night), Ink-Color Box Q Stack(chocolate and blueberries), Ranger Distressed Ink (vintage photo, tea stain), Metallic Rubons-Craft T (Set #2), ribbon-Stampin' Up!, Crafts Etc.,  Fiskars USX Template (Rectangle), Fiskars Retractable Craft Knife,  Mod Podge, Xyron 900, Glue Gun, Glue Dots, Staples.

Friday, July 29, 2011

All good things must come to an end and so as CHA wrapped up I have a few things to finish taking care of! Like pictures and catalog picking up and pictures! That's right I was so busy looking and seeing and doing at CHA the only real pictures I got were when someone took the camera from me and snapped away. Thursday I set out to take pictures of some of my favorite things from the show.

One of my favorites was this gorgeous dress from "I love to create" , the wings, the detail it was simply breathtaking. As I mentioned before designers from CHA had a "dress form" contest and the dresses were amazing but this one was my hands down favorite!

I didn't have much time to nose around the show floor on Thursday for there was a brief run to the Supershow. It was being held in conjunction with the jewelry show this year and that's where the Fiskateers decided to hold their meet up! It was great connecting with my orange clad pals! Plus our ever generous leads had orange bags of treasures for us!

(Ok looking closely at this photo now...notice how Mandi and I are the tallest ones and not only right smack dab in the middle but in "orange and green" lol and thanks Karen for the photo btw.)

After the hugging and gabbing died down it was back over to the show to pick up the last of the catalogs I needed and say goodbyes to some of my friends working in booths. PLUS I had to run by the Photocentric booth and grab my stampmaker and packs. Good thing I had the BIG tote with me cause it was over full. In fact Madison from Echo Park saw me dragging the thing and grabbed it from me for an aisle or two to give me a break (thanks Madison :)

At the close of the show I met up with Kimberlee and Joanne because we had plans to go to the Splitcoast Stampers "Cupcakes and Cocktails" party that evening. We all knew we needed some protein before eating sweets and went to Gibsons for some of their "sliders." Gibsons is a fabulous steakhouse and their sliders are anything but the traditional kind. These were tender chunks of filet between two of the cutest little buns imaginable served up with a huge basket of fries (yum) and the cutest little ketchup bottle that came home with me for my ketchup loving husband! We have a family joke about how much he LOVES the stuff and so I knew it would be the perfect souvenir for him. (Before you all start going "oooh Betsy stole the ketchup bottle"...they send them home with you!!!!)

We got to the party with about 20 minutes to spare and spent the time chatting and trying to stay awake. All of us were really tired but excited to see some more friends! After being welcomed by the Splitcoast staff family and handed fabulous goodie bags filled with Flower soft, stamps from several different companies and coupons and other fun stuff we were met with

very yummy cupcakes! So we ate, drank, and were merry :) Only water for this chick but I was slowly coming around and getting a sugar buzz from the cupcakes..lol. Towards the end of the evening we found a couple of bar stools to sit on and a gal came up to talk to us. A few minutes later she introduced me to her sister.

Her sister Joy was from Texas, and not just any part the very city my daughter was in at the moment. She was there on a mission trip and when Joy found out about that she got so excited and wanted to know her name so she could pray for her and before our conversation ended she had given me her contact information telling me "I know I'm not "mom" but you are here in Illinois and I'm 10 minutes from her, if she needs anything, or gets hurt, or just gets home sick I can be there in 10 minutes and see how I can help." My daughter had been really on my heart that morning and to "just so happen" to meet someone not only offering to pray for her, but offering to help her if she needed it was overwhelming! It was the perfect ending to a rather exciting week. Just like a big hug from God.