Showing posts with label Color Box. Show all posts

Monday, April 23, 2012

Shadow Box Canvas

While I have never considered myself an artist, I do consider myself a crafter. I reserve the title of "artist" for those whose pieces I think belong in a gallery or hanging in the art institute. The interest in "mixed media art" has me fascinated. I love the painting and different textures and little accents and touches. It boggles my mind at how they can take so many different mediums and turn out a piece that looks so "put together."

Last  summer the Craft and Hobby Association's trade show had a focus on "Mixed Media Art." It made sense being that so many crafters have their hands messy with more than one art form. This being the case many of the vendors at the show, demonstrated how their products could be used in mixed media. I sampled and dabbled and tried them all. I had so much fun playing that I finally decided to jump in and try something new.

The phrase "pieces of my heart" kept drifting through my mind.  I envisioned hands tenderly holding cherished pieces of my heart. I know that I can't draw to save my life so I wanted my piece to revolve around a photo. I didn't want to just stick the photo to the canvas so I had the idea to shadow box the photo within the canvas.

Since a blank white canvas can be intimidating I started with a messy base coat of a creamy metallic colored acrylic paint, I then topped it with some music I photo copied and then distressed and tore up. I used Mod Podge to not only adhere down but to give the background a bit of a glossy texture. When it dried, I used my USX as a stencil to add a window in the canvas. Instead of using the USX blade with the template I used my Fiskars retractable fingertip craft knife to cut out the window. I then added a double mat frame using the same template I made the window out of to give me an exact fit. I used a transparency as my window glass to seal in the photo.


For the heart I wanted a kind of free form heart that somehow fit together, yet didn't but still made up the heart. Painted puzzle pieces fit the bill perfectly. For a caption I played around with different fonts of chipboard letters, edging some in gold and glittering others. To finish it off I added a touch of coordinating ribbon just cause I thought it needed a bit of movement along the side.


While I'm not sure the finished piece could "technically" be considered "mixed media art" based on today's standards. I was really pleased with my finished piece. It was fun to figure out how everything would fit together and dig through not only my paints, but my inks, metallic rub-ons, and papers, and even tossed in some photography as well.


Supplies used: 11 x 17 canvas, black art board, sheet music, chipboard-My Minds Eye, Rusty Pickle, Lil' Davis, photograph, old puzzle, paint-Plaid folk art various colors, Krylon Glitter Blast (starry night), Ink-Color Box Q Stack(chocolate and blueberries), Ranger Distressed Ink (vintage photo, tea stain), Metallic Rubons-Craft T (Set #2), ribbon-Stampin' Up!, Crafts Etc.,  Fiskars USX Template (Rectangle), Fiskars Retractable Craft Knife,  Mod Podge, Xyron 900, Glue Gun, Glue Dots, Staples.

Sunday, April 22, 2012

Earth Day!

Happy Earth Day!

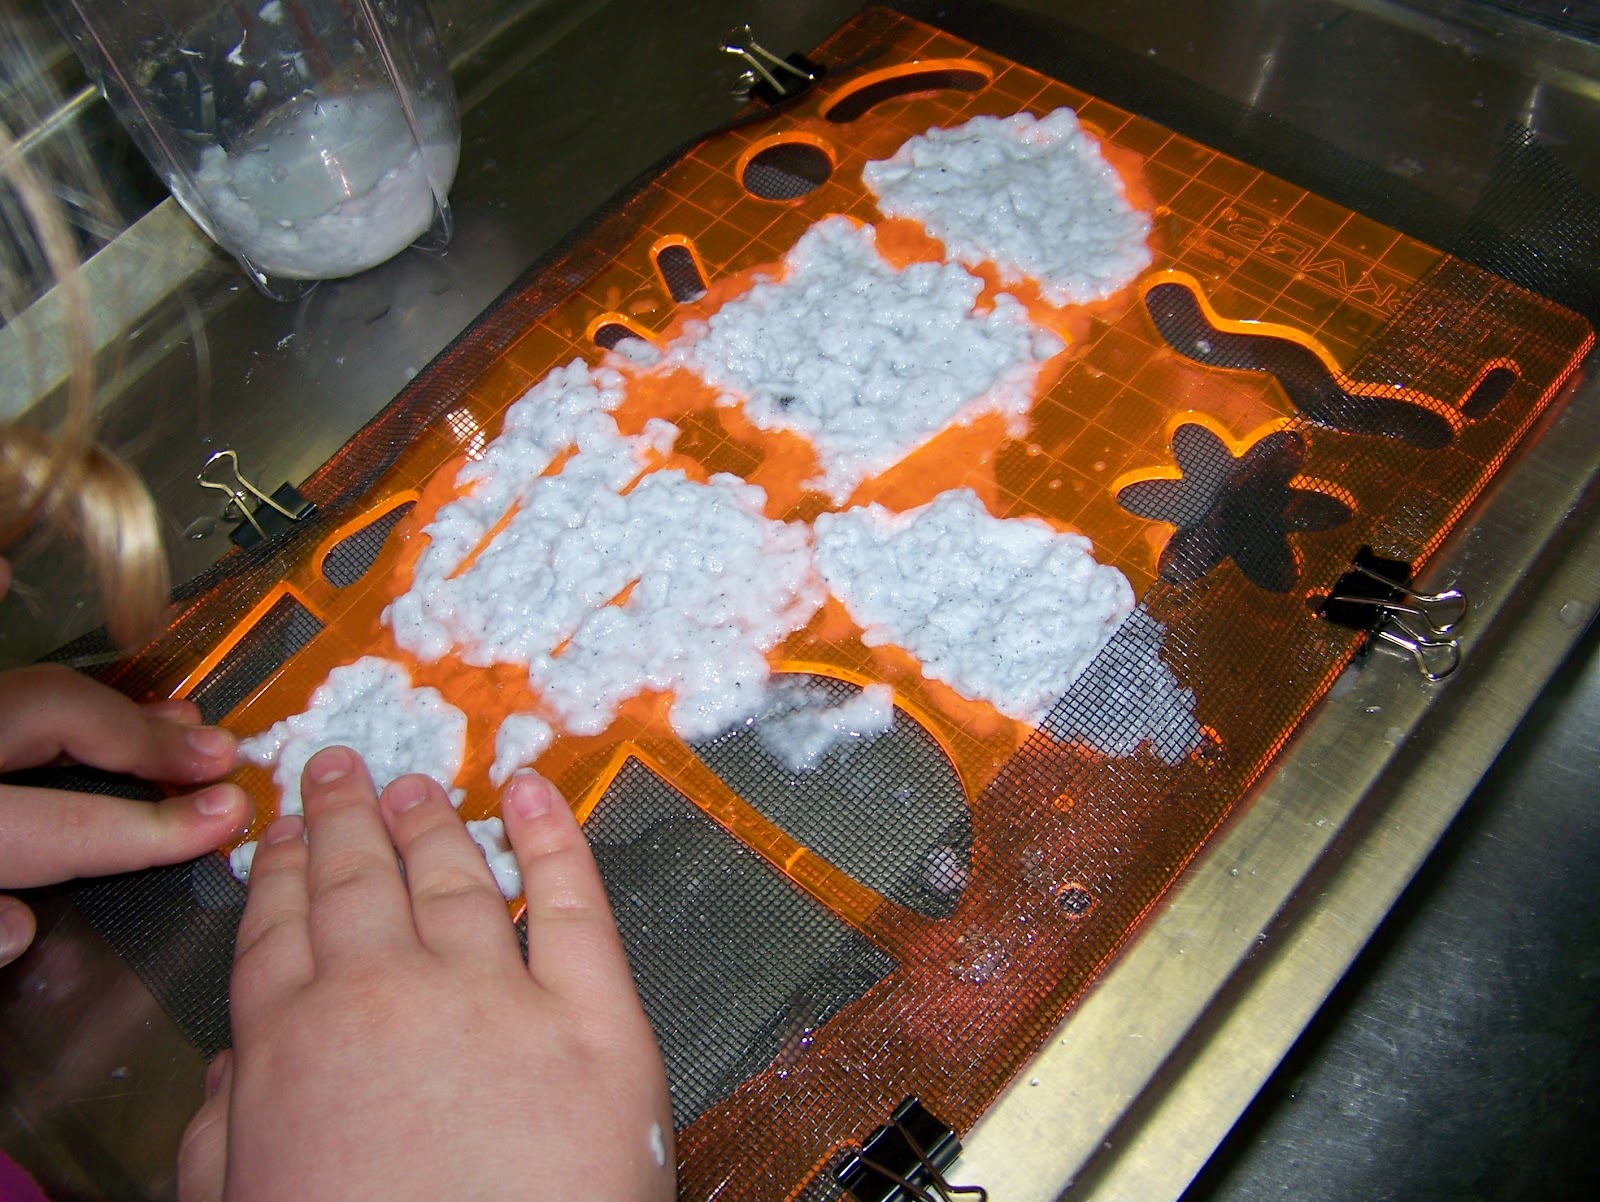
In the spirit of Earth Day I decided to try and "recycle" our old paper into new. Having experimented before with handmade paper, I wanted to try something a bit different. I wanted my paper to be shaped, yes I know that I could just make the paper and then cut it out, but I wanted it to be a bit thicker and have more definition along the edges than a typical die cut, not to mention texture. So I decided to try and make a paper mold and deckle using my Fiskars  USX Shape Templates.

Supplies needed:
Old paper-anything without a glossy coat works, copy paper, newspaper, paper towel etc.  Traditional card stock works as well but I found the heavier paper needed to soak in water for awhile before the blending in step 2.

Screen- if you have an old screen you can cut that up or pick up some inexpensive household screen at the hardware store

Blender
Bowl
Water
Towels
Binder Clips
USX template of choice (I used woodland tree, and cupcake)
cookie sheet

Optional: rolling pin

Step 1: Tear your paper up into 1 inch squares, place into a bowl with enough water to cover the paper allow to soak.


Step 2: In the meantime create your mold and deckle. Your mold is the screen that what you paper will be created on. The deckle is the edge that will shape the paper in this instance you are going to use your USX template. Take the screen and attach it firmly to the template using the binder clips. Pull tightly as you don't want there to be space between the screen and the template. I found there is an edge to the templates and therefore you will have less seepage if you flip your template upside down. This will help prevent some of the seepage that naturally occurs.


Step 3: Using your blender, add a couple of handfuls of the wet paper and then enough water to blend easily. This will be kind of trial and error depending on how heavy your paper is. The thicker the paper the more water you will use. BUT the more water you use the longer it will take your paper to dry. To start try about 4 cups of paper scraps to 2 cups of water. Blend until the paper pulp starts to look like wet cotton.


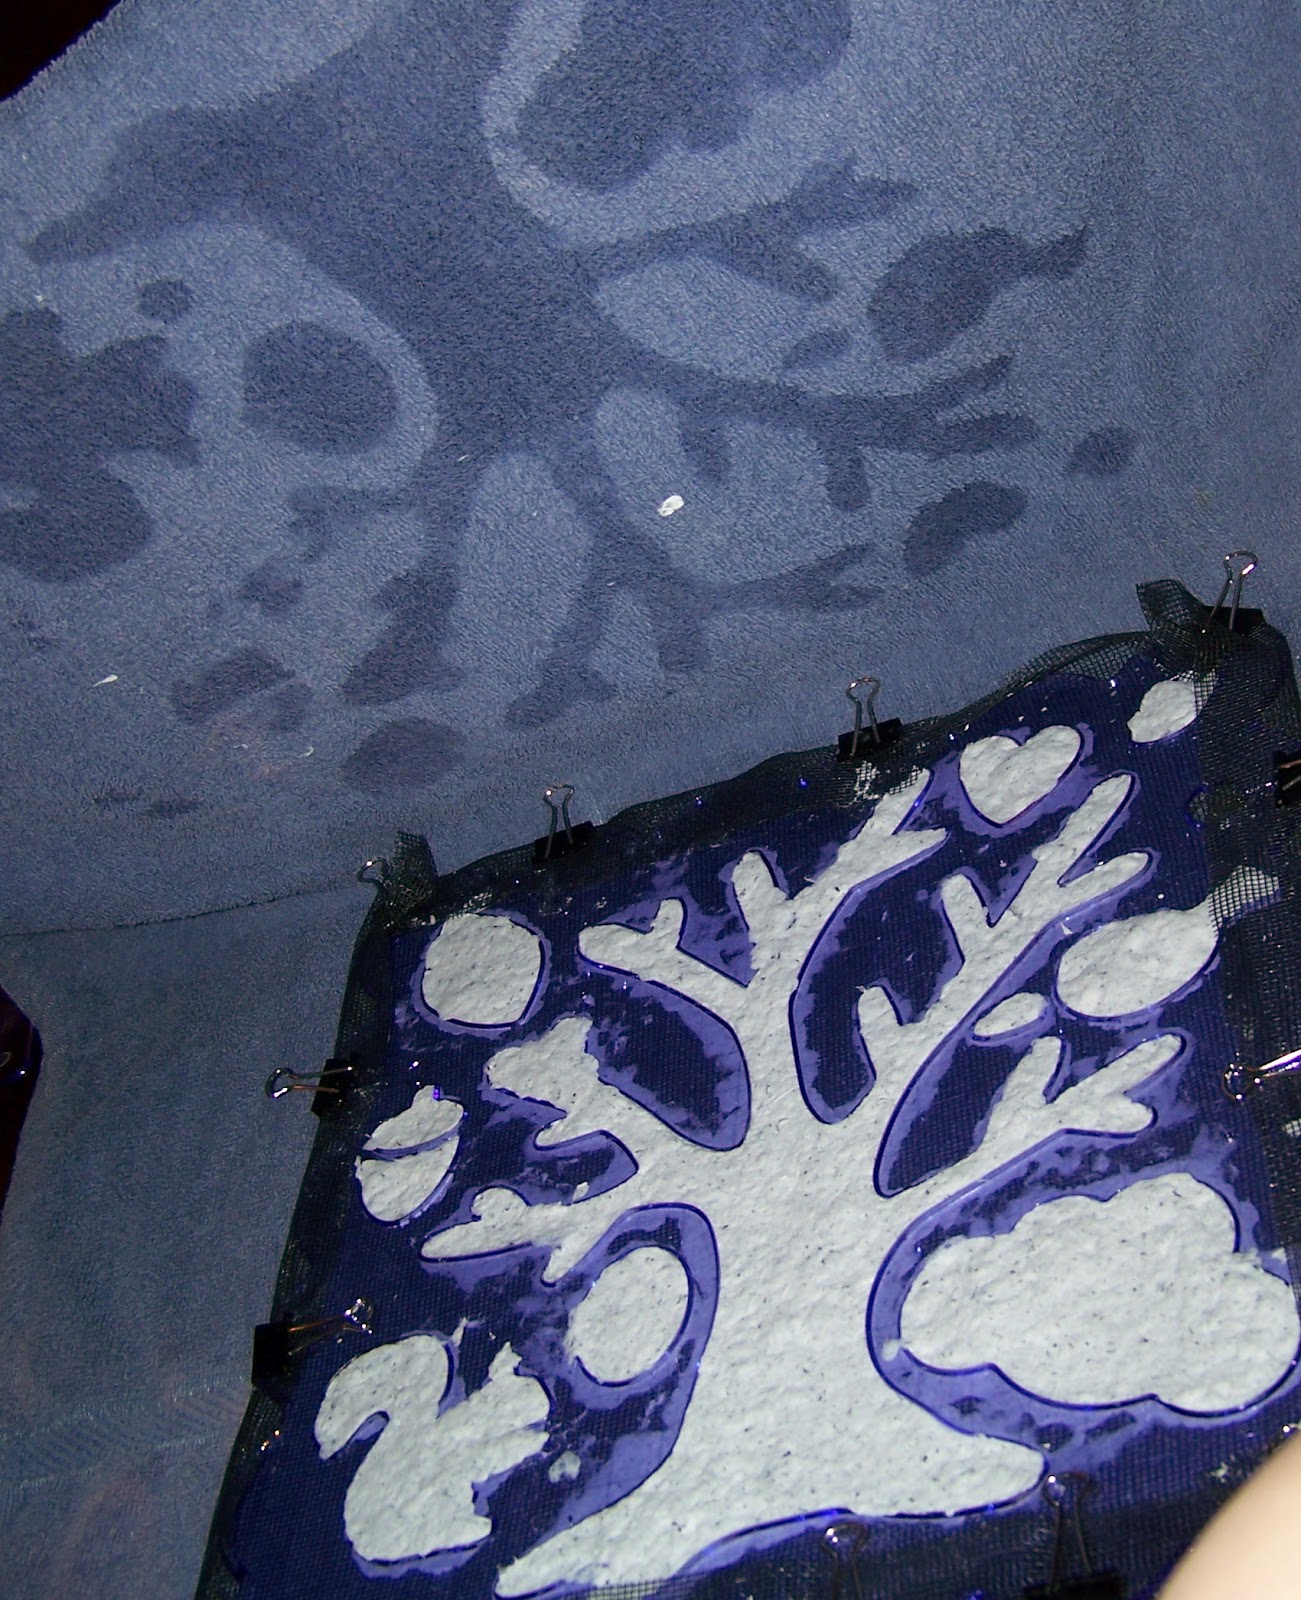
Step 4: Fold up a towel and line your cookie sheet with it. Place your USX mold and deckle on top of the towels. Using your hands fill the shape with the paper pulp packing it in. Make sure you not only fill the corners but that you get an even layer of pulp. If some spots are too thin it will cause your paper to either loose shape or tear easily.


Step 5: Once you have a nice thick layer of pulp, start working the water out of the paper. To start you can use your hands, as it gets drier you can even place an additional towel on top and use a rolling pin to work out water. Change the towels as necessary.


Step 6: Allow to dry. Depending on the thickness of the paper, moisture in the pulp and air this can take anywhere from several hours to a day or longer. If you wish to speed up the process and don't mind your shape a bit "flatter" you can carefully un-mold your paper and use an iron on it. Be careful to press firmly down without shifting. Like any paper it tears easily when wet.

Step 7: Remove your paper mold. You may notice some rougher edges if pulp seeped under the edges, this is easily removed with scissors or a bit of sand paper depending on the thickness of your paper.

The finished paper has the feel and weight of an egg carton.Your shapes can vary in thickness anywhere from a heavy textured paper to almost a paper clay texture that is the thickness of chipboard depending on how thick you applied the paper pulp.

The paper you have created is fun to ink as the texture of the paper pulp provides an interesting texture.


As of this writing my tree was STILL drying, but my squirrel was dry as was the acorn so I decided to create this card:


"Nuts About You"
Supplies used: Fiskars USX template-Woodland Tree, Cardstock-Bazzill, Patterned Cardstock-Fancy Pants-Childlike, Ink-ColorBox Q stack( Chocolate and Blueberries), Fiskars LED Rotary Trimmer with straight and deckle blades, gemstone, Metallic Rub-on-Craft T (Set #2), Stamp Font- Embellish It (Basic Type,) glue dots, glue glider perma tac.