Showing posts with label Paint. Show all posts

Sunday, December 1, 2019

Abide

"Abide" -This image has been rolling around in my head for awhile, at least a month or more.

 It started with a vine and then I saw a crown of thorns grow from the vine...and the Holy Spirit whispered to my heart "the crown of thorns was made from a vine as well."

 I was reminded of the scripture . "I always carry around in my body the death of Jesus, so that the life of Jesus may be fully revealed." (2 Corinthians 4:10 my paraphrase) 

Abiding for Jesus led him to a place of death, but he conquered death, and so that place of abiding produced the fruit of eternal life for all who receive.

 As a Christian I am encouraged to " abide in the vine" to draw my identity... my strength from God, to bear fruit of showing people the Savior. 

Some times that means laying down my wants and desires for God's better plan. My "death" to my self, to become resurrected as who He has made me to be and to bear fruit that will last.


(mixed media on canvas)
Supplies used: Canvas, Acrylic Paint, Mod Podge Ultra, Hot Glue, Paper 


**Please be advised that Plaid Enterprises, Inc. has compensated the designer by furnishing Plaid product at no charge in connection with this posting. 

Monday, February 4, 2019

That image in your head

I've never been a painter...mom was. She could see something and copy it.  It was an amazing skill I was always desiring. I am trying to learn that skill. This image has been in my head for quite sometime. I drew it out and then it sat and sat and sat... I really haven't been able to move on from it or away from it. So it has sat

 So today I decided it was the day to finish. 

It's based on Acts 17:27 "God intended that they would seek Him and perhaps reach out for Him and find Him, though He is not far from each one of us."


It's far from perfect, but I'm pleased with the effort and maybe someday I'll repaint it when I have acquired more skill. Until then...I can move on :)  Until the next image gets stuck in my head! 


Need to add a quick thank-you to Plaid Crafts As an ambassador they help provide me with paints and brushes to get those images out of my head and into reality!

Wednesday, April 4, 2018

Gallery Glass Painting

Back in the 90's my mom found this stuff called "Gallery Glass" paint by Plaid Crafts. She was at our local Sam's club and they had these kits that you could create "window clings" or actually paint on glass and make it look like stained glass. My mom and I loved playing with them. We made tons of clings and then ran out of paint, bought some more ...(lather, rinse, repeat....again...and again) but the hobby eventually ran it's course in our lives as I got busy with raising kids.

Fast forward to 2018 and Plaid posts a video of Gallery Glass painting and my mind is BLOWN! I immediately ordered some then found a friend to paint with!


You start by choosing your picture. Plaid Crafts has some pattern collections. But I choose just to find some coloring pages. Either used a coloring book you own for find something online. Google "coloring pages to print" for some options, or for a more traditional stained glass look "stained glass coloring pages to print.


Then choose your surface to paint on. If you wish to create a window cling, you need a stencil form, glass, or a silicone mat. With these surfaces you will be able to remove the cling when finished. Or in the case of glass, when you get tired of the design and want to change it.  If you want a more permeant option you can paint onto plexiglass.

We for our patterns, we used some printed from the internet and some from a coloring book by my friend Joanne Fink. Then place your patterns under the surface you are painting on. If you are afraid they will shift, add a bit of tape to hold it into place.


You will use the "liquid leading" to outline your image. Start by "touching" the leading to the surface you are painting on while gently squeezing. Then raise the bottle up around an inch or so. To get a nice round leading line, do not place the tip of the paint bottle directly on the surface you are painting allow gravity to do it's thing, and gently guide the bottle around. Around "corners" or when lines connect you will want to gently 'touch" down to secure the line in place then raise the bottle again to keep the round shape.


 Then comes the hard part...waiting for paint to dry and well waiting for paint to dry is like waiting for paint to dry. It takes around 8 hours for the paint to dry completely. If you are impatient, you can use the redi-lead strips (pre-made adhesive strips of gallery glass lead, these can be used in place of the liquid and only need to be connected with a dab of the liquid to connect the pieces.) I did find it difficult to use the "redi-lead" on more intricate pieces especially ones that involved a lot of cutting, but loved using it for a uniform line around solid pieces.

When dry you can start filling in your Gallery Glass Piece with color. The colored Gallery Glass paint goes on opaque, but will dry clear. To fill in sections. Place the tip of the colored paint on the inside rim of the area you are filling in and trace along the entire shape gently squeezing the paint tube. This ensures you fill in the entire rim without any blank spots. Then begin covering the entire area. You can even mix colors to create a custom color or swirled glass look.


As you paint you will might notice air bubbles. You can use a toothpick, or skewer to gently pop the bubbles and then rake the pick over the area to remove the "bubble line." After the paint has dried a bit, you can also use the pick or skewer (or even your finger) to add texture to the paint to mimic textured glass. 


Then you wait for paint to dry again. The amount of time for it to dry depends on how thick you applied the paint.  Typically another 8 hours, but I have noticed it dries faster, in a dry, warmer, well ventilated room (and the flip side it naturally takes longer when it's humid out.) 

I love the finished piece. This piece was on a glass frame I found at the dollar store.  I put it back into the frame when done without the backing to allow the light to shine through. 


A HUGE Thank you to Plaid Crafts for providing me with the Gallery Glass paints! 

You can find all the Gallery Glass paint supplies at https://plaidonline.com. To find Joanne Fink's book, you can visit her site Zenspiration.com.


SaveSave

Tuesday, March 6, 2018

Paint Along with Plaid-Lucky Llama

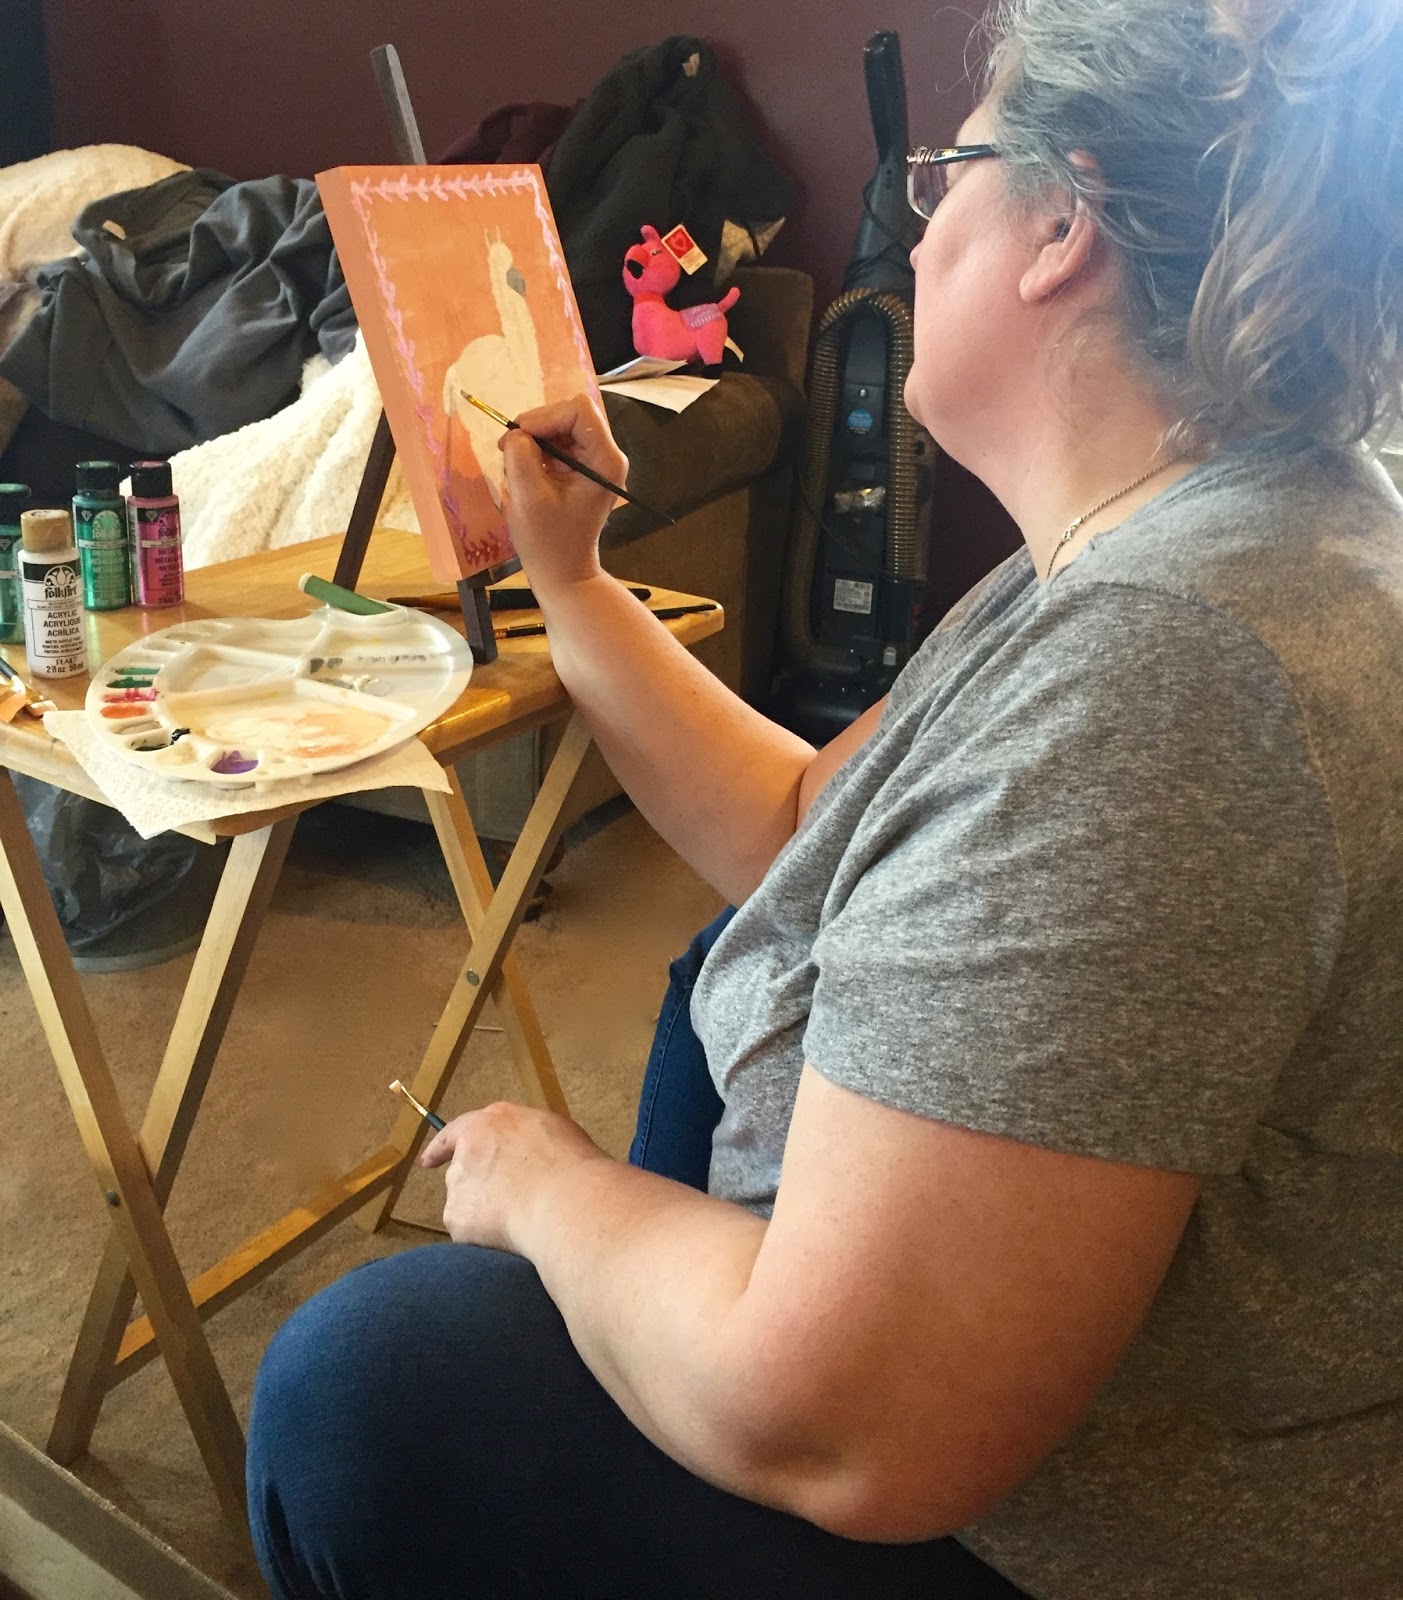
Plaid Crafts recently started a series of "Paint-a-Long" with Plaid live streams. Painting has never been my strong suit, but I have a goal this year to really try and spend some time creating on a regular  basis. So when Plaid Crafts offered to send supplies for me and a friend to participate in the "Lucky Llama" paint-a-long, I knew I had to try. Since my friend Mandie and I were both busy during the live stream, we met today to watch the recording. It's safe to say we had a blast.

Naturally we had help

We even found a pink llama to join in the fun! 

She says "TRUST ME!" it will look like a llama when you are done!" 


Beginning to see a llama


Yup I actually painted


Almost done, adding the Mod Podge to give it some sparkle


All done!


Mandie and I with our paintings! 

Thanks Plaid Crafts for a fun afternoon with a friend! 


Supplies used: 12 x 12 wood canvas, palette, water basin, paper towels, Folk Art Paints-Acrylics Colors; Titanium White, Pure Black, Prairie Sunset, Folk Art Extreme Glitter Chunky Gold, Folk Arts Metallics- Aqua Marine, Amethyst, Rose. Folk Art Detail Painters (LOVE THESE), Folk Arts Brush Sets- Letter and Detail Set and Angle Set, Mod Podge Mega Glitter Hologram

To purchase supplies visit Plaid Crafts 

To view the live stream recording visit  Plaid Crafts on Facebook

SaveSave

Thursday, June 29, 2017

Splatter Paint part 2

One of the difficulties of splatter painting is waiting for the paint to dry! Waiting for paint to dry is like .....well waiting for paint to dry😂😂😂!

I shared yesterday about the splatter paint project I taught at the Christian Youth Center of Morris as part of their "Exploring Arts" summer  program.  I couldn't resist getting in on the "splatter painting" action with the teens.

I decided to create my own version of the youth center logo!


I created a large paper mask of the C-Y-C-M and then used stencil spray and tape to attach it to a black canvas. I thought the black against the color would create more of a striking contrast. I kept with the color scheme for the original logo. 


In addition to my rendition of the logo, I decided to experiment with acrylic pouring and dipping. We took all of the left over paint and poured it into a cookie sheet. We then swirled the paint to create a marbleized look. 


I then dipped the canvases into the paint. Some of them were interesting...this one though was my favorite.  After dipping the canvas, I took a paper cup and dipped the rim of the cup in and used that to stamp the canvas. I had a lot of fun playing! 


Thanks again Plaid Crafts for sponsoring our spatter paint project! The teens were not the only ones that had fun! 


Tuesday, June 27, 2017

Splatter Paint

Next to Operation Christmas Child, the Christian Youth Center of Morris is one of my favorite programs to volunteer for. When I was a teen, I had a similar place to hang out and connect with friends, learn about my faith, find caring adults to offer advice or a listening ear. My kids have been a very regular part of the Youth Center for the past 5 years but this year is pretty special. This summer my daughter chose to spend her summer working on an internship project at the Center. 

Winter had always envisioned there being a music and arts program at CYCM. We have done music and "arty" things in the past, but she wanted something where kids could explore different types of the arts; music, dance, drama, spoken word, photography, and even tech. Each week she will be focusing on a different type of "art" and have an artist come in and share their craft with the teens. The artist will talk about their start, and then what they do with their craft and how they use it for God's glory. 

This past week she asked me to come in and share with the students. While I'm not an artist in the traditional sense, my creative side comes out more in visionary skills and ideas. I can see the end of a project and be able to know what needs to happen to get from point A to Z. I talked to the teens about never feeling I matched up to other people in my life that could paint, draw, and play music and had to learn to accept and understand where my gifting was. I then shared some of the ways I have used my art and extensive crafting ability to bring awareness to causes that are important to me; CYCM, Operation Christmas Child etc. 


As for a project, I wanted to encourage the kids that "true creativity is never neat" and sometimes the "art" is in what is not (negative space) As the perfect project to combine both those concepts, I brought a "splatter paint booth" to CYCM. 

First the teens, used stencil tape to mask off a canvas and a t-shirt. Then after donning hazmat suits to keep their clothes clean, they went to town throwing paint around! 


The frame of a pop-up canopy made a great traveling "splatter paint booth." We simply removed the canopy and used plastic sheeting to cover the floor and all sides of the frame. 


We used latter for easels and the frame itself to hang their shirts from.


Emily with her painted canvas.


Plaid Crafts provided all of the paint, brushes and stencil tape for our project and even sent some extra so the girls could take a brush set home!


While the canvases look pretty now, we can't wait to take off the tape when dry to see how things turned out.


I had to get in on the splattering action and create my take on the CYCM logo. 


Thank you to Plaid Crafts for providing the supplies for our project and thank you to the CYCM Exploring Arts program for allowing me to come share!