Showing posts with label Friends. Show all posts

Tuesday, July 3, 2018

Happy Independence Day

What happens when your BFF and her daughter come to your house before the 4th of July? Naturally you do some Americana crafting and a rousing rendition of the "Star Spangled Banner" (complete with harmony and high notes.)

These "Holiday" kits were on clearance at JoAnn's but I thought they would look amazing with a fresh coat of chalk paint and a bit of jute twine and be able to be used all year round.


Starting off  we masked off stripes on the wood panel. We then used Waverly chalk paint in "Crimson" for the red stripes.  When dry we masked off again and did the stripes this time in"Plaster." We finally accented the sides with the Ocean blue.


When the whole project was painted we added the jute twine to the nails that are already on the project. 


Each one was different and we LOVED the way they turned out! Thanks Plaid Crafts for providing the brushes and the paint! 


 Supplies Used: Fab Lab-Holiday Star Kit, Waverly Chalk Paint in :Crimson, Plaster, and Ocean, Jute Twine, Chalk Paint brushes -Waverly


Tuesday, March 6, 2018

Paint Along with Plaid-Lucky Llama

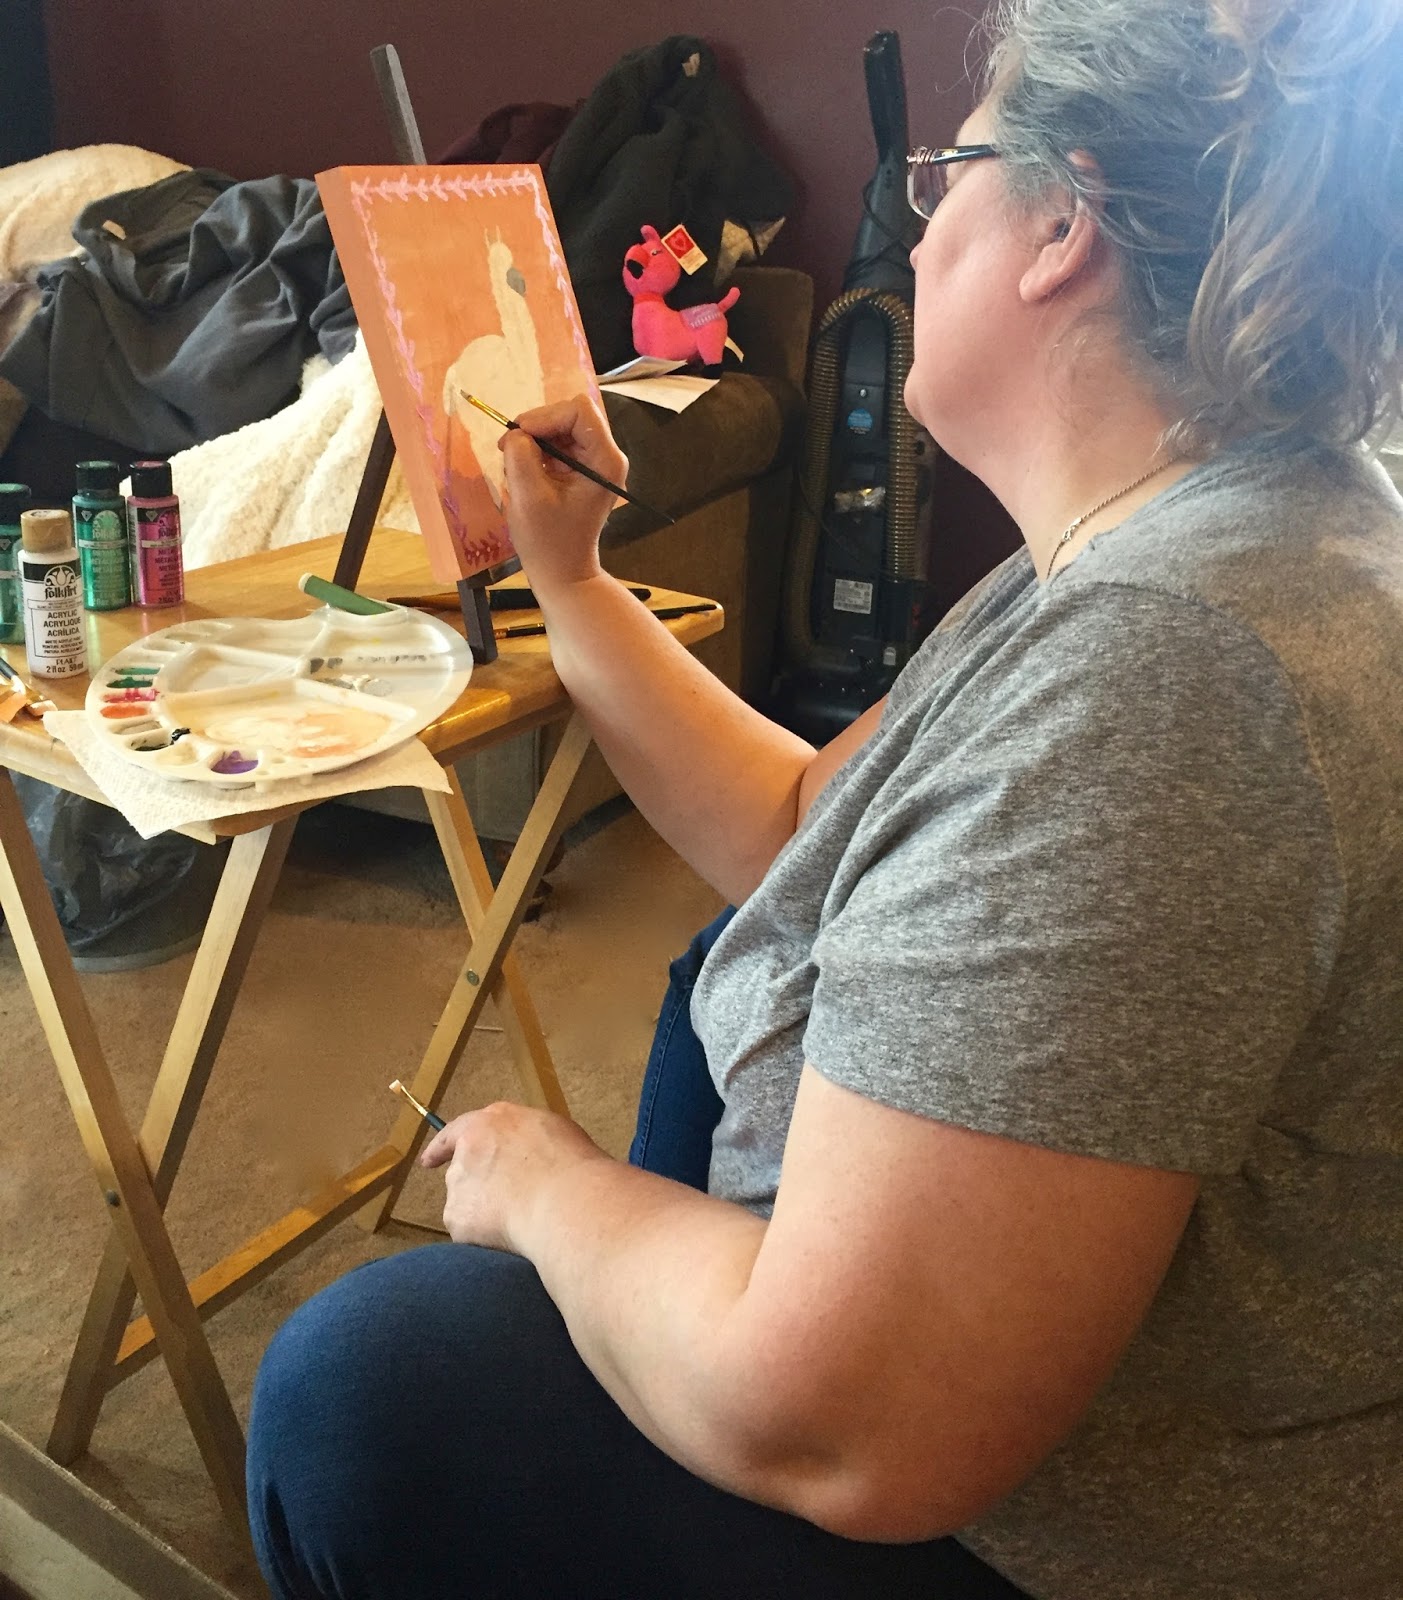
Plaid Crafts recently started a series of "Paint-a-Long" with Plaid live streams. Painting has never been my strong suit, but I have a goal this year to really try and spend some time creating on a regular  basis. So when Plaid Crafts offered to send supplies for me and a friend to participate in the "Lucky Llama" paint-a-long, I knew I had to try. Since my friend Mandie and I were both busy during the live stream, we met today to watch the recording. It's safe to say we had a blast.

Naturally we had help

We even found a pink llama to join in the fun! 

She says "TRUST ME!" it will look like a llama when you are done!" 


Beginning to see a llama


Yup I actually painted


Almost done, adding the Mod Podge to give it some sparkle


All done!


Mandie and I with our paintings! 

Thanks Plaid Crafts for a fun afternoon with a friend! 


Supplies used: 12 x 12 wood canvas, palette, water basin, paper towels, Folk Art Paints-Acrylics Colors; Titanium White, Pure Black, Prairie Sunset, Folk Art Extreme Glitter Chunky Gold, Folk Arts Metallics- Aqua Marine, Amethyst, Rose. Folk Art Detail Painters (LOVE THESE), Folk Arts Brush Sets- Letter and Detail Set and Angle Set, Mod Podge Mega Glitter Hologram

To purchase supplies visit Plaid Crafts 

To view the live stream recording visit  Plaid Crafts on Facebook

SaveSave

Monday, December 7, 2015

Treasures to (and from ) afar!

I am privileged to have friends with big hearts! Their hearts not only have a deep love for the Lord, but a love for others. Because of this, many of my friends find themselves traveling to other parts to share this love with others.

Our church recently planned a trip to Guatemala the plan for the trip was to start building a house and a stove for a family in need as well as host a medical clinic.  The trip came during the busiest season for me for shoeboxes meaning I would be unable to go, that didn't stop me from helping my friends get there. 

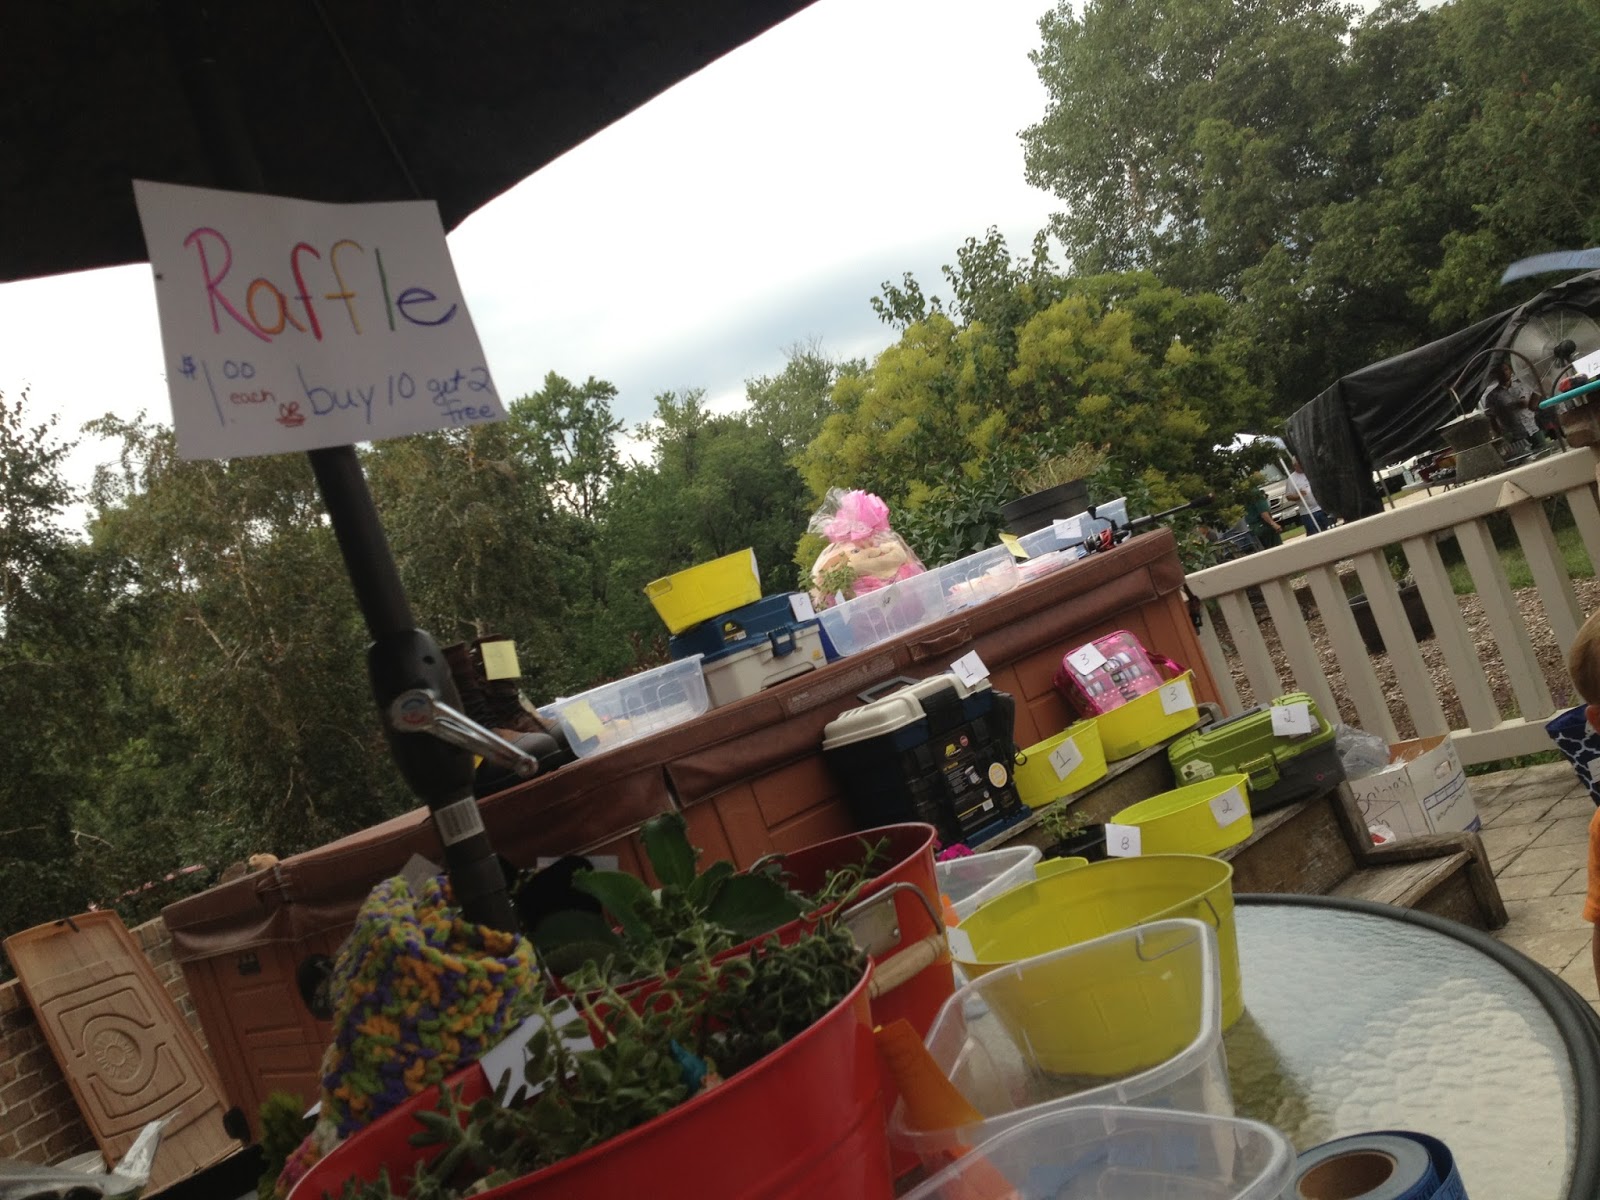
The big fund raiser for the team was a pig roast. There was good food, and games and other ways to fund raise. I worked my specialty in "Basket Raffles." 

Having been on short term trips before and having many friends that serve long term as missionaries. I know the importance of feeling connected and supported by people back home.

I had been given work gloves to donated to the team and wanted to do something special with them. People that came out to the fundraiser to support the team were given the opportunity to "share in the work" and sign the gloves for the team. 


The team loved the gesture, and used the gloves during construction and then left them with the local church they were working with in Guatemala.


Imagine my surprise though when one of the team members (and a dear friend of mine)  brought me back a couple of handmade treasures from the trip. She knew both my love of things handmade and my heart for journaling and brought back the perfect gifts.

I loved the beaded hummingbird, the attention to detail was amazing, from the beak to the star shaped eye!  To give you and idea of size, it was made entirely out of seed beads! Could you imagine the time it took to make this?

The brightly colored journal was wonderful. It's actually more of a "cover" for a smaller journal. Meaning once I use it up, I can take out the notebook inside and replace it.


Monday, September 7, 2015

Holy Smokes

When you have a friend trying to give up a very addicting habit you support them the best way you know how...with a crafting project! A friend of mine was trying to quit smoking, so I encouraged her to grab one of these instead when she had a craving for a cigarette!

It was a simple project. I took a simple cardboard box and repurposed it to hold "Holy Smokes" scripture, and verses of encouragement and inspiration for her to grab whenever she felt a craving coming on!


She loved her gift and even managed to give up smoking! This time hopefully for good!!


Saturday, March 21, 2015

Red Heart Yarn-Contest!

Do you remember the first "yarn craft" you made? I do! I was 4 years old and just read the book Charlotte's Web. I wanted to be like Charlotte and so I decided to make my own "web" in my bedroom. I found a skein of yarn (it was orange)  and started tying it to every imaginable surface. The idea was to make my "web" all over my bedroom and then be able to crawl on it. I worked hard on it, so imagine my disappointment when my mom came in and wasn't as pleased with me as I thought she would be. (Apparently it took almost 2 hours to cut down my "web".)
Image from "String Fling"

As I have grown, naturally  my yarn crafting abilities have grown too.  From the humble beginnings of web making, I progressed to "god's eyes," and finger weaving, to knitting. My skill level knitting wise is basic, but that doesn't stop me from appreciating the gorgeous creations of my mother-in-law and friends. I love seeing what they create and then learning about the creative process and what supplies they used. I then use those recommendations to guide my purchasing decisions.

Apparently I'm not alone what influences my purchasing decisions. In a 2012 Fleishmen Hillard Survey.  Women value the opinion of others very highly when it comes to making a purchasing decision, and half of all women consider it their role to help others make smart decisions when it comes to purchasing product.

 The "Women's Choice Award" has a goal of helping women make better purchasing decisions. This product seal is awarded to companies and products, that are most recommended in a poll of thousands of women across the united states. For 2015 that seal was awarded to Red Heart Yarn. It's important to know this isn't just the brand used by women, it signifies that women are are willing to recommend it to others. As Delia Passi  CEO and Founder of the Women's Choice Awards states:
“When a woman is willing to recommend a brand or service to others, it means that business has earned her loyalty. Those are the businesses we wish to recognize for their efforts and commitment to the No. 1consumer – women." 

To celebrate their achievement. Red Heart Yarn is sponsoring a giveaway right here! One lucky reader will win a $50 prize packages sent directly to them by Red Heart! The prize includes:


Approximate Retail Value $50 
3 Red Heart Sizzle
2 Red Heart Medley
2 Red Heart Boutique Swanky
2 Red Heart Boutique Sashay Boho
1 Red Heart Boutique Treasure
1 Red Heart Tote Bag
 
What do you have to do to win???
Leave ONE comment telling me how about what influences your purchasing decision.  How important are "friends' recommendations" to you when buying a product?  Do you solely listen to friends? Do you research and also get recommendations? What influences your purchasing decisions?

Comment by Midnight March 26th, 2015 CST. One winner will be chosen at random from all eligible commenters. As a special 'thank-you' to my followers I'm awarding all followers that comment an extra entry. (Indicate in your comment if you follow my blog.) This contest is open GLOBALLY...yes you red that correctly. Red Heart has generously agreed to ship the prize anywhere in the world.

A HUGE thank you to Red Heart for generosity in sponsoring this contest!

Tuesday, January 27, 2015

If you give a knitter some yarn!

My pal Erica has been home with sick kiddos for almost two weeks now. Talking to her one morning on facebook, I asked her if there was anything she needed.  I was going to be driving by her place on the way out in the morning and know what it's like to be trapped with sick kiddos.  She jokingly replied to me "yarn" and the crafter in me responded to her heart's cry.  I just happened to have the perfect "care package" to give to a friend in need of a yarn fix.

I recently attended the "Fave Crafts Blogger Event" at the Craft and Hobby Association Trade show. One of the perks for attending the event was a fabulous box of goodies to play with when we got home. My box contained a bag from yarnspirations.  Inside the bag was some of the new Bernat "mega bulky" yarn in the color of "new gold." 
  

 So grabbing the bag and the yarn, I made a mad dash for my friend's house, stopping only to get a quick "I LOVE YOU" from the weary mom, I quickly ran out the door not to be infected by the creeping crud. (Actually it was more like..."Oooo infinity scarf.." but I know "I Love you" was in her heart....ok who am I kidding..she saw YARN!)

You know how it goes"If you give a knitter some yarn...." it wasn't long before I had these pictures gracing my inbox.
Erica found something productive to do during the illness induced nap time of her children. I love the infinity scarf she made and can't wait to see her wearing it... but maybe after flu season ;) 

Thanks Bernat for sponsoring the Fave Crafts event and sponsoring a few creative minutes for a friend with sick kids!!!

To see more fabulous projects from Bernat visit their BLOG.


Monday, October 27, 2014

CD Tops!

When people find out you are "crafty" there is no end to the things they ask if you want. Earlier this summer I was given two boxes of old CD's Not quite sure what I would do with them I held on to them until I figured out a project or two. When I came across a how to for creating tops out of CD's I knew I had found a winning project.

The directions called for "shooter sized" marbles,  or ping pong balls, but the thrifty queen in my balked at the price. I had literally hundreds of these tops that I could make and didn't really want to pay $5 for 2 dozen marbles of the correct size. I decided to look elsewhere. Looking at Oriental Trading Company, I found small rubber balls that were 3/4' in diameter, and in addition to being the perfect size for this project, happened to be $5 for 144, much more friendly on my budget! Besides the Cd's and marbles, I would need wrapping paper, mod podge, soda caps and a hot glue gun to complete this project.

Then it was time to call in the troops.


About 10 of us, traced the Cd's onto the wrapping paper, then cut out the circles. These circles were mod podged to the CD's and when dry, we glued the rubber ball inside the hole of the Cd and then glued a soda cap on top as a handle. The result were some adorable Cd tops that spun surprisingly well. In our morning of crafting we finished around 200 of these guys to put in shoebox gifts for Operation Christmas Child.

I will say that we had difficulty with the glue sticking when we used a lo-temp gluegun. We found we needed the high temperature glue or the handles would peel off. To find the original directions I based this project from visit: Mama's Little Muse 


Monday, October 20, 2014

Order Out of Chaos!

Almost 20 years ago, I became involved with a project called "Operation Christmas Child"  OCC as it is commonly known sends gift filled shoeboxes to children in need all over the world. Shoebox gifts contain; school supplies, personal care items, small toys, hard candy and more and for some children are the first and sometimes only gift they will ever receive in their lives.

My involvement with OCC expanded to becoming a project leader and then finally an Area Coordinator for our area. I currently oversee a project called "Shoebox 1k" named from a challenge one of the boys in my children's ministry issued one year to do "A THOUSAND BOXES." Currently just working on our third year, news of our project has spread far and wide. Being the case we need LOTS of storage space. In the past I was able to have a back room in our church building, when the building was sold, the Christian Youth Center of Morris graciously allowed me to move the operation in there.

Naturally when one thinks of filling 1000 shoebox gifts you would think about how many supplies are needed to accomplish this goal. Our packing date is November 1 and being close to the date of our packing party obviously have mountains of supplies to accomplish our goal. Imagine my surprise and dread when I was notified, I had to MOVE everything over two bays in the storage area less than one month before everything was to be moved out?


Rather than just putting everything into piles in the new area, I enlisted the help of my father, my son and some other fine gentlemen to create a shelving unit able to withstand not only the amount of supplies we would need in for our project but the weight of cartons of shoeboxes. School supplies, and cartons of soap aren't light!


 It took the 5 of us 2 days and several hundred dollars of donated wood and screws to create the shelves. But the result was oh so worth it! There are 6 sets of shelves 8 feet by 4 feet. In addition we created two sorting tables, that can double as supply tables during the actual shoebox packing party!  I love the new space, and it should make it very easy to stay organized this next year.


A HUGE thank you to my father Ken, my son David, and friends Mike and Ed for all of their hard work!!!

(For more information on Shoebox 1k and how you can get involved in our local efforts, check out the link above or click on "Shoebox 1k" at the top menu.)


Sunday, June 8, 2014

Transformed

As I said I have had a "craft crisis" with many of my supplies unavailable to me to play with. That being the case I have been playing a lot with paint, canvases, and Faber-Castell gelatos. Within my mom's painting treasures was "texture paste" I have never played with it before and wanted to experiment.

I thought it would be cool to make another gift for a friend. She is an amazing person and the Lord has done such a transformation in her life. It's awesome to see!

So I started out with a Gelato background, when that was dry, I outlined the word "Transformed" and then filled it in with texture paste, building up layers. I colored in the paste to blend in slightly with the background but then outlined it with a black sharpie to give the letter's more definition.


Wanting to have something to symbolize a transformation, I stamped butterflies on vellum and then heat embossed them. When cool I colored them in with painted on Gelatos and then cut out the butterflies. Bending them slightly at the middle I was able to hot glue them on just down the middle to give the look of the butterflies being "in flight" as well as landing on the word "Transformed."


After adding a scripture reference I called it done. It looks much cooler "in person" and my friend Erica loved it!


Friday, May 9, 2014

Playing with paint and canvas

So when your house is torn up with a never ending rehab project meaning your craft supplies are for the most part "boxed up" what's a gal to do? Play with what's in front of her that's what! As you know my mom passed away and I have had the rather difficult task of cleaning out her house. One of the treasures I took with me was some of her painting supplies. That being the case I have been dabbling with canvas and ink lately.

A friend of mine asked me to make her something for her kitchen so I had this idea of a watering can "showering love" now I am NOT a painter....in fact the kids usually come up to me and say "my mom what a nice picture." so I didn't want to do a whole watering can just give the illusion....


So I just did the top of the can. I added a saying and some hearts and called it done. 


I found out after the fact, that her entire living room is decorated in watering cans, so loved the idea of  carrying the theme into the kitchen  :) I'll let you know what she thinks of it.

Tuesday, March 27, 2012

Thank you cards

I had a couple of thank you gifts to give to friends and wanted cards for the group to sign. Both of the friends the cards are going to are the "crafty" type so it's fun to create for them!


To save time both cards have a similar design. I have a layered base, with a left hand border, then layered bling flourishes, flowers and a butterfly accent. The one on the right needed a bit more so I raided the silk plant off my shelf for a couple of leaves as a filler.  The sentiment was simple, a message stamped out on strips of paper and tucked under the flower with glue dots. To finish it off, I added an extra touch of elegance with a punched edge on the envelope. (I had to make my own to accommodate the chunky embellishments.) 

Supplies used: Cardstock- paper adventures, patterned paper-GCD Studios Brave Girl collection, Ink- ColorBox, bling flourishes and flowers and prima, butterflies-altered chipboard embellishments GCD Studios, Glitter flourish border-GCD Studios, Flower ribbon trim-May Arts (Satin Cutout), leaves from my silk plant ;) Additional tools-Score Pal , Fiskars Apron Lace border punch.

Both gals loved their cards, and my "happy crafty moment"-one of them has her's on permanent display at her house. I love it when people really not only appreciate what I make them, but love it as well! It's good medicine for my crafty heart!

Friday, February 24, 2012

My hero

It was a cold and snowy morning when my daughter, my nephew and myself had to get to the school by 7am to set up for a "Drive 2 Survive" teen safe driving expo. For living through our Illinois winters, this year had been surprisingly mild for the most part, but that morning after several days of warm weather we got hit with a snow storm. 10 minutes south of us got a dusting, 10 minutes north of us pretty much the same. Not us, we got frozen rain then snow.

So I'm driving along telling the two student drivers in my van about the need to slow down on roads like this when it was snowy and icy. The speed limit was 55. I was going maybe 30 when all of a sudden I had no control over the vehicle. We fishtailed for awhile then finally found ourselves hitting the ditch and then sliding forward sideways several feet hitting quite hard. Thank the Lord everyone was ok. We had landed with one tire up in the air spanning the ditch.

The first call I made was to our friend Andy, "Hey Andy ya know that big shiny new tow truck you got??? Ya wanna come play in the snow?" The 2nd call was to my husband (to let him know what happened) 3rd call was to my sister in law to have someone come get the kids and their projects and get them to school. After that I sat and waited for Andy to come rescue me.

And rescue me he did. Granted the tow truck got pulled a truck length and a half backwards before it caught and started pulling the van out of the ditch, and things got wobbly to the point I was asking the Lord to send angels to help hold things up and push the van out! Eventually my van was on the road again, but it had to be towed back to the shop there was some minor damage to the front and underside and he wanted to make sure nothing was leaking. I'm so thankful to have friends with tow trucks that let me call them at 5 to 7 in the morning to come rescue me!

When I finally got to the school, the Allstate agent gave me a tiny match box car tow truck to commemorate the events of my morning. I knew I needed to alter it a bit to give to Andy. A quick paint job (with red nail polish) and a few strokes of my label maker Altered the matchbox car to match Andy's truck and then I had to mount it and make a trophy fit for a hero!


Supplies used: "allstate" matchbox car, brother label maker, red nail polish, wood block, yellow and black cardstock (paper adventures) , toy trophy, Glue dots, Xyron X-machine and 510.

P.S. I was informed by Andy's wife that not only did this make his trophy shelf BUT it brought it with him on Sunday to show his son :)

Saturday, December 10, 2011

The Money Machine!

It's the season of giving!! I love finding the perfect gift for all the people on my list, but some people are just difficult to shop for or you just know a gift of cold hard cash could be most appreciated this time of year.

So enter in the need to find gifts for two very special ladies. One of them put together an entire government/constitution class for two of my kids (and 15 others) and the other opened her home to us to have that class for 12 weeks! The families of the students wanted to get together and bless these ladies in some way. After tossing around several places to give gift certificates to, it was decided cash would be the best gift and since I never want to just "give cash" I had to find a creative way to present it. So enter in

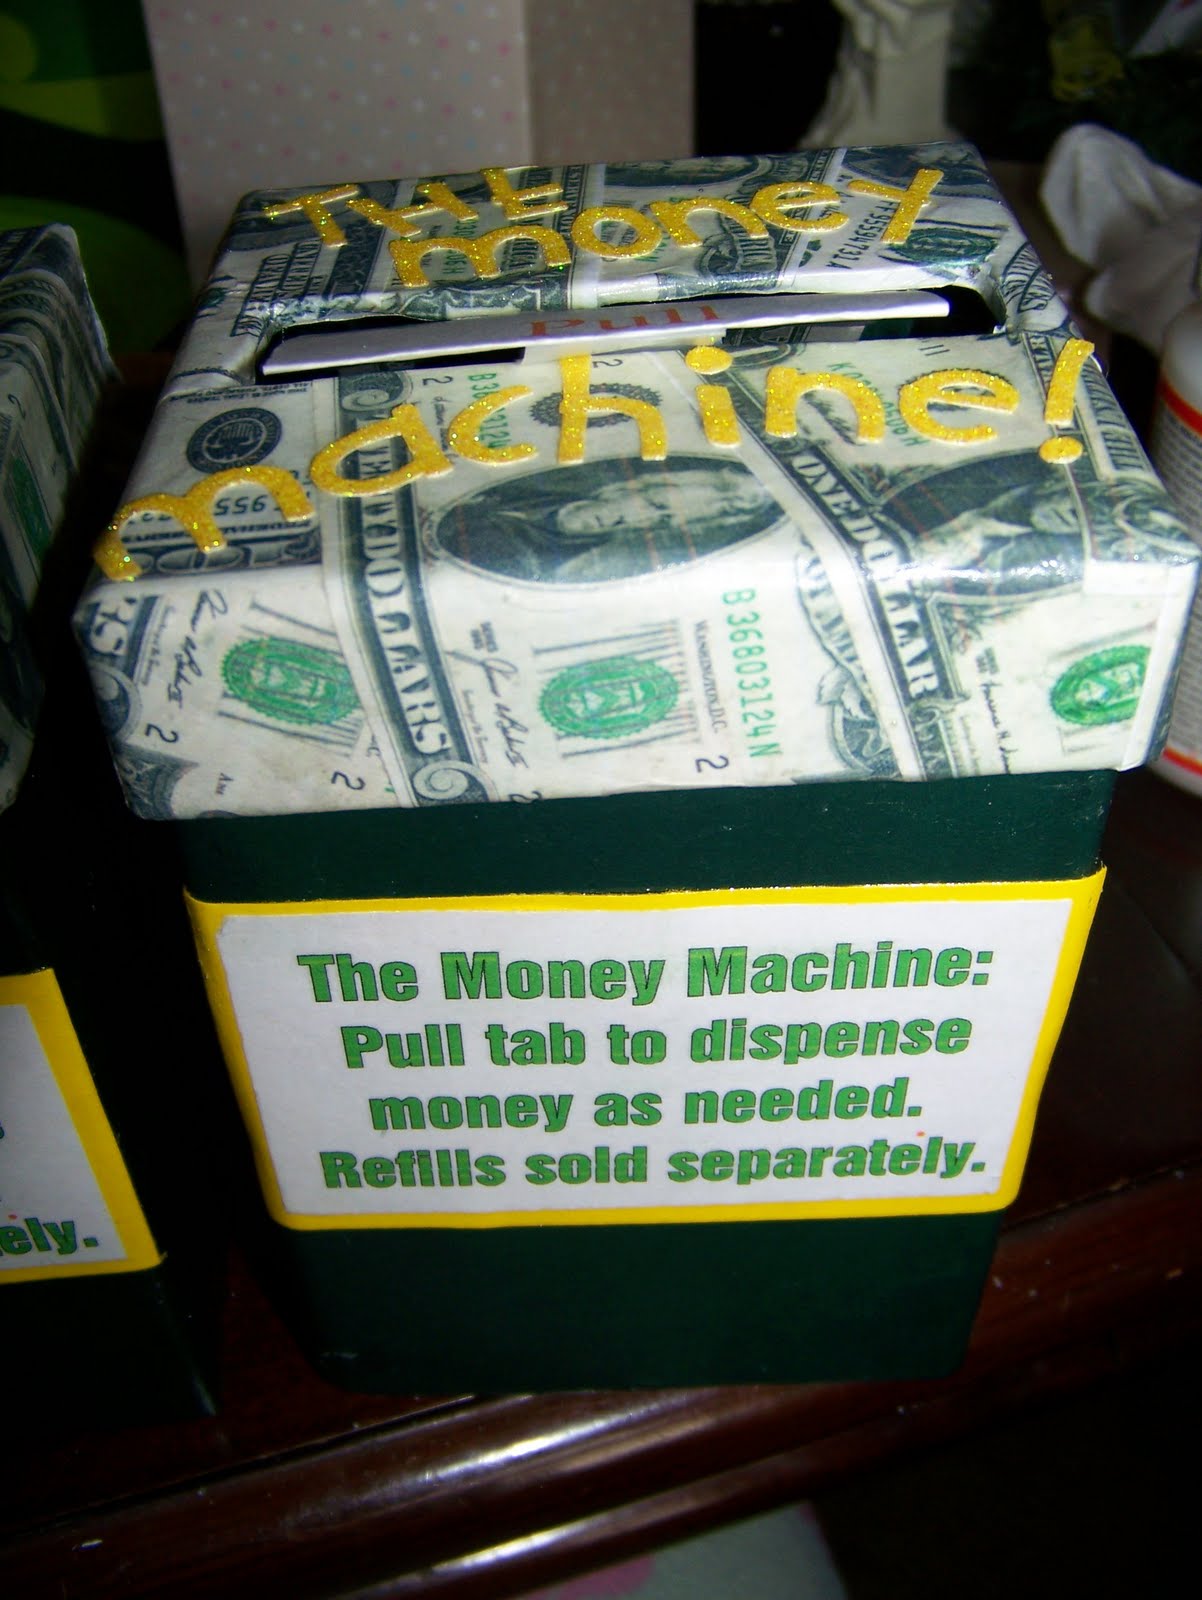
"The money machine"

I saw several of these "premade" boxes online ranging from $5 to $17 dollars (plus shipping) Thinking I could make something that would be much cuter I decided to try making my own.


Start by taping your bills together end to end (I used a small piece of tape on both sides for extra strength.) The "store bought" ones came with a roll of repositionable tape. I experimented and found the scotch "matte finish" came off the bills nicely (as long as the tape didn't over lap the entire edge of the bill.)

When your money chain is finished rolled up the bills and place in a box that will fit not only the roll but big enough you can cut a slit in the top to feed your chain through.

Never being one to want a "plain" box I decided to decorate mine some. I got out the Mod Podge, printed off some "play money" and went to town "Podging" the money onto the top of the box and adding the letter stickers when done. I gave it a final coat of Mod Podge to act as a sealer to make sure the stickers stayed in place.


I added some directions I created and printed off and then also realized I wanted some type of "pull tab" to thread through the top of the box so this I also printed off and then taped to the end of the dollar bill roll.

Then it was just wrapping them and waiting the agonizing couple of days till we could give them away!

Supplies used: Mod Podge, play money (images printed from online), letter stickers (stickabilities), Fiskars fingertip craft knife.