Welcome to Expo International's "Hello Spring" Blog Hop
celebrating National Craft Month
celebrating National Craft Month
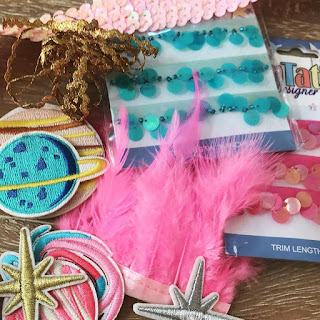
Expo International sent me a wonderful packet of trims to create with. My first reaction when I saw them. "Wow I can create all kinds of fun trinkets with these trims!" But what happens when you have trinkets? You need some place to put them. So I started out creating a fun trinket tray.
Supplies Needed:
24"-Lorlana Baby Pom Pom Fringe Trim (White)
12"-1/8" Rayon Mini Rick Rack (Aqua Blue)
1- small glass plate, 6-8" in diameter
1-small glass pot, 3" in diameter
Plaid Crafts Folk Art Enamel Multi-Surface Paint (Aqua)
Plaid Crafts Folk Art Tools Detail Painter (Large)
paint brush
E-6000
optional: oven
To Make:
- Wash and dry glass pot and plate.
- Using the paint brush, paint glass pot, covering entire surface.
- Use the large detail painter to add random polka dots to the plate.
- To set paint permanently: Either allow paint to cure for 21 days OR allow paint to dry 1 hour then place dishes into a cold oven, allow oven to reach 350 degrees, bake for 30 minutes, turn off oven and allow dishes cool before handling.
- After dishes have cooled use E-6000 to glue Mini Pom Pom Trim to inside of the rim of glass pot with pom-poms facing up. Glue Mini Pom-Pom trim to the outside of the rim with pom-poms facing down.
- Glue the rick-rack between the rows of pom-poms.
- Glue decorated pot to the plate allow to dry.
Additional Expo International trims used for "trinkets":
- Carnations -Elijah 1 3/4"Sequin Ruffle Lace Trim (Pink)
- Earrings-Amour 3/8" Mini Heart Rhinestone Trim (Silver)
- Hair Clips-Cora 1 1/2" Stretch Raschel Lace Trim (Blue), Amour 3/8" Mini Heart Rhinestone Trim (Silver)
Full tutorial on "trinket" projects coming soon!
How would you like to win some fabulous trim for yourself?
Be sure to visit the other fabulous projects on the hop!


That is my favorite color Betsy, the teal! So pretty!
ReplyDeletecute ideas! the carnations are beautiful!
ReplyDeleteGreat post.
ReplyDelete