Showing posts with label wood. Show all posts

Sunday, April 8, 2018

Modern End Table from Wedding Treasures putting it all together (part 3 of 3)

*This is part 3 of 3 be sure to visit part 1 and part 2

My friend Amy came to me asking for help with her wedding because I am the "creative one." Wanting something different for a guest book and needing something to use as a cake platter. I devised a 3 in 1 project to fit the bill. The first part, a wood round, with their initial burned into it became the guest book. Then I etched a piece of custom cut glass to become a personalized cake platter for their big day.  Today we are going to put it all together to create a modern end table from their wedding keepsakes.


To start I wanted to preserve the signatures on the wood disk. Because they are only on with sharpie and no matter how "permanent" the marker says it is, if exposed to certain chemicals or even harsh sunlight the color can smear or fade. To seal I  first did a light coat of Crystal Clear Enamel Spray from Rust-Oleum and allowed to dry. I used a spray sealer because any amount of rubbing on the marker with a sealer will cause it to smear. This being said, be VERY careful during this step not to touch the area where the marker is. Once the light coat is dry, spray with a 2nd coat and allow to dry as well.

Now it was time to attach the wood to the table base. For the base Amy and Otto wanted something similar to the style of the wedding venue, kind of industrial and a bit rustic. I found this wonderful "counter height" bench on Amazon. It had good reviews, and best yet the seat on the bench was round, so with a bit of luck it should be easy to swap out the seat for the table top.


I removed the hardware from the bench seat and centered it on the back of the wood disk. Then using a drill, screwed the hardware to the wood. From there I simply followed the directions to assemble the bench.


I then placed the glass onto the table top. Remember the "clear bumpers" applied to the back of the glass. I found that by using the raised ones, you could see the etching better. 

From cake platter and guest book to end table!

Congrats Amy and Otto!
May the two of you be blessed on your journey together! 

Supplies used: industrial counter height bench, drill/drill bits.  

Be sure to check out Part 1 and Part 2 to see how the guest book and cake platter were made

Special thanks to the following companies: Plaid Crafts and etchall® 


Friday, April 6, 2018

Modern End Table from Wedding Keepsakes-the wood guest book (Part 1 of 3)


* This is part 1 of a 3 part series, be sure to visit Part 2 and Part 3
When my a dear friend from high school comes to you for help with her wedding because you are the “creative type” you naturally offer to help anyway you can. 

Amy’s dilemma, a “creative” guest book. The problem with traditional guest books you stick them in a drawer or box after the wedding soon to be forgotten about. Amy wanted a keepsake that would remind her of the family and friends that celebrated her special day.

As I talked to Amy more about what they were looking for with not just wedding decor but  home decor as well.  I found that her and Otto liked simple… rustic..industrial…with a touch of elegance. She also mentioned in passing that they were looking for something to use as a cake platter as well.

This got me to thinking “what if we could make separate pieces, that somehow fit together to become a keepsake when the wedding was over?” 

The idea for a "guest book end table" came into being.


I started with a wood round found at the hardware store. 


Almost 18” in diameter it would allow plenty of space for guests to sign their names. I brought this wood round to our local lock and glass store. (Thanks Jerry's Glass and Lock for the fast service) I told them I needed the glass to be for a table topper and cake platter and they suggested the thickness and then had a piece cut to match ready for me the next day! Setting aside the glass to etch later I began work on the wood. 


After a light sanding, I stained the wood a lovely "Summer Oak" color by Rust-Oleum.


I wanted to add their initial to the round, tracing a large letter “S” lightly with pencil. 


 I then followed my lines and filled them in with the Folk Art Wood Burner. I used the round tip and a "medium-medium high" setting for heat. 


This piece will then become the "guest book" for family and friends to sign at the wedding. 


To see "what comes next" be sure to visit, part 2 and part 3. There I will show you how I created the etched cake platter, and then put everything together. 

Supplies used: Wood Round, Rust-Oleum Wood Stain in "Summer Oak",  Folk Art Wood Burning Set-Plaid Crafts, Wood letter to trace. 

Thank you to Plaid Crafts for providing the wood burning set. 


SaveSave

Friday, March 25, 2016

Key Cabinet

I am so blessed to be a part of a wonderful group of bloggers associated with Prime Publishing. This past January we were invited to a fabulous blogger event during the Craft and Hobby Association Trade Show. At this event we mixed and mingled with some amazing manufacturers all wanting to send us product to create with! 

Once again there was a contest involved, and with my mind awhirl I set out to create. 

I always am loosing my keys, which is really kind of funny because I LOVE collecting vintage keys so I thought how cool would it be to create something fun and functional. Taking a wood tray and frame from the thrift store, I set out to upcycle them into an adorable key cabinet!
Instructions:

Remove glass from frame and hardware if necessary. Lightly sand all wood surfaces.

Apply base coat of paint (the color bamboo shown) and allow to dry.
Base Coat

Apply crackle medium on all wood surfaces. Use smooth strokes. The thicker the coat the deeper the cracks when finished. Allow to dry.

I opened my paint to find it smiling on me
Apply top coat of paint (Ceramcoat Chalk in Raven shown.) Use long smooth strokes for best results, allow to dry. 

Just like that the magic happens!
Brush on Ceramcoat wax to entire painted surface allow to dry and then buff with a soft cloth. 
Cut 4 pieces of metal ribbon slightly longer than inside opening of of frame. Lightly sand and then rub on Stazon ink and wipe immediately off. Ink will settle into recesses of the ribbon and grooves made by sanding to give an "aged look" Heat set in being careful because the metal gets hot. Staple metal ribbon in place on back side.
**Pausing for a moment to say this metal ribbon is AWESOME!!! It comes in several widths, has fabulous detail both embossed, and die cut. It's heavier than foil, but not as rigid as tin. I've only seen it at Hobby Lobby in the spool ribbon aisle by the wedding stuff. $4.99-5.99 a 9ft roll. 
Cut wire mesh to cover the backside of frame. Using staple gun, staple into place.


Cut burlap to fit inside wood tray, using a brush, apply Fabric Fuse to inside of tray, glue burlap to inside of tray, smoothing out fabric. Slightly fray edges of burlap if desired. 
Trying to get the keys to hang straight

Line up frame with wood tray, Making sure to center frame over wood tray. Using drill, install hinges so the frame becomes the door of the cabinet. 
I found out after the fact
do the burlap before the hinges!
(Messing up first so you don't have to!)


Install knob to front of cabinet, install latch to close, on side of cabinet.
Install cup hooks inside cabinet to hang keys, install hangers on back of cabinet to hang on wall. 


Volia' an adorable key cabinet! Hopefully it will become not only a place to store the vintage key collection, but a place to remember to put my keys (where I can see them!) 

Notes:
When working with the crackle medium, a smooth thin coat will produce tiny cracks, a thicker coat will produce cracks that are wider exposing more of the undercoat. Remember to wear protective eyewear when cutting the wire mesh, the tiny pieces fly everywhere. Use a drill to predrill holes for hinges especially on softer wood (or particle board.) This will help keep the wood from splitting.
Supplies used:

Plaid Delta Ceramcoat Chalk Paint-Raven, Plaid Delta Ceramcoat Select Multi Surface Satin-Bamboo, Plaid Delta Ceramcoat Crackle Medium,
Plaid Delta Ceramcoat Wax-Clear, Wood Tray (from thrift store), Wood Frame large enough to cover edges of tray, Piece of burlap fabric to cover inside of tray, Therm-o-web Fabric Fuse, Hinges from hardware store, Wire mesh from hardware store, Staple Gun and Staples, Wire Cutters, Metal Ribbon enough to line inside of frame-Hobby Lobby, Knob-hardware store, Latch-hardware store, Paint brushes in assorted sizes, Cup hooks, Protective eyeware, Needle nose pliers, Drill and bits, Screwdriver, Heat Gun, Sandpaper, Black Stazon Ink

This project is in the "Best Blogger Craft contest" over at Fave Crafts! I would LOVE your vote!  You can vote once per day!

 http://www.favecrafts.com/voting/Blogger-Contest/


Friday, April 3, 2015

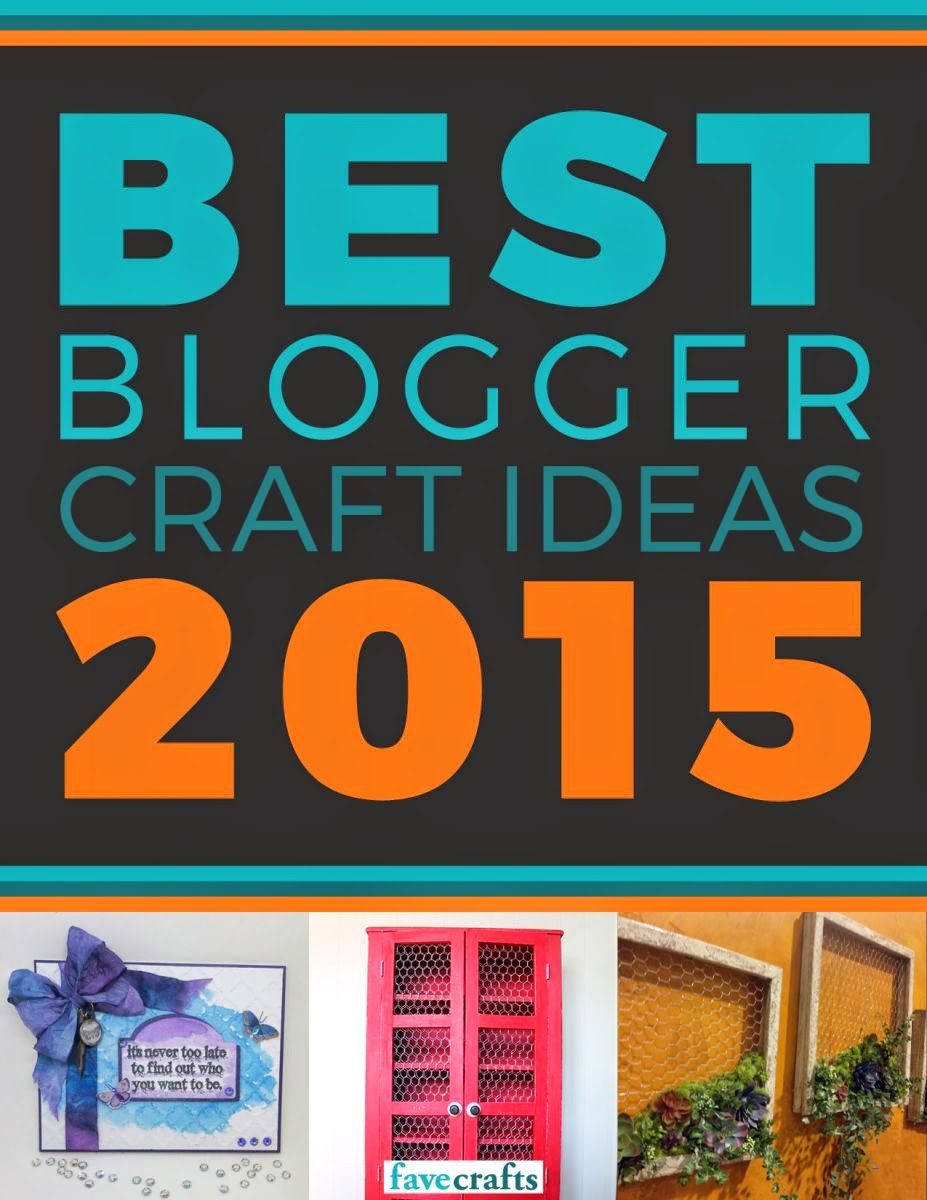
Best Blogger Craft 2015-free ebook

The votes were tallied and the best blogger crafts were selected for 2015 and you can find all of them in the Fave Crafts "Best Blogger Crafts 2015" free ebook.

http://www.favecrafts.com/Most-Popular-Crafts/The-Best-Blogger-Craft-Ideas-2015-Home-Decor-Ideas-DIY-Jewelry-Easy-Crochet-Patterns-and-More-free-eBook 

In the book you will find all types of crafts from crocheting and knitting to paper and wood crafts-including the pie safe project from yours truly! Tons of inspiration and did I mention it's absolutely FREE?? Be sure to download your copy by clicking on the image! 


Thursday, March 12, 2015

2nd Place!

Remember my shelf turned pie safe??


 The talent in this contest was amazing! It was an honor to be a part of it and even more so to see my name and project up on the Winner's List! Thank you to everyone that voted for me! Plus a special thanks to Fave Crafts, for sponsoring the contest and to  Plaid Crafts and MD Hobby and Craft for having amazing products to work with.


For the full announcement http://www.favecrafts.com/contest/Blogger-Contest

and for instructions on my project: http://www.favecrafts.com/Painting-on-Wood/Restyled-Red-Shelf-Home-Decor-Craft

Be sure to look for the blogger ebook featuring projects from the contest coming April 1st!

Monday, October 20, 2014

Order Out of Chaos!

Almost 20 years ago, I became involved with a project called "Operation Christmas Child"  OCC as it is commonly known sends gift filled shoeboxes to children in need all over the world. Shoebox gifts contain; school supplies, personal care items, small toys, hard candy and more and for some children are the first and sometimes only gift they will ever receive in their lives.

My involvement with OCC expanded to becoming a project leader and then finally an Area Coordinator for our area. I currently oversee a project called "Shoebox 1k" named from a challenge one of the boys in my children's ministry issued one year to do "A THOUSAND BOXES." Currently just working on our third year, news of our project has spread far and wide. Being the case we need LOTS of storage space. In the past I was able to have a back room in our church building, when the building was sold, the Christian Youth Center of Morris graciously allowed me to move the operation in there.

Naturally when one thinks of filling 1000 shoebox gifts you would think about how many supplies are needed to accomplish this goal. Our packing date is November 1 and being close to the date of our packing party obviously have mountains of supplies to accomplish our goal. Imagine my surprise and dread when I was notified, I had to MOVE everything over two bays in the storage area less than one month before everything was to be moved out?


Rather than just putting everything into piles in the new area, I enlisted the help of my father, my son and some other fine gentlemen to create a shelving unit able to withstand not only the amount of supplies we would need in for our project but the weight of cartons of shoeboxes. School supplies, and cartons of soap aren't light!


 It took the 5 of us 2 days and several hundred dollars of donated wood and screws to create the shelves. But the result was oh so worth it! There are 6 sets of shelves 8 feet by 4 feet. In addition we created two sorting tables, that can double as supply tables during the actual shoebox packing party!  I love the new space, and it should make it very easy to stay organized this next year.


A HUGE thank you to my father Ken, my son David, and friends Mike and Ed for all of their hard work!!!

(For more information on Shoebox 1k and how you can get involved in our local efforts, check out the link above or click on "Shoebox 1k" at the top menu.)